 10 years of water leakage warranty for Regrouting showers.

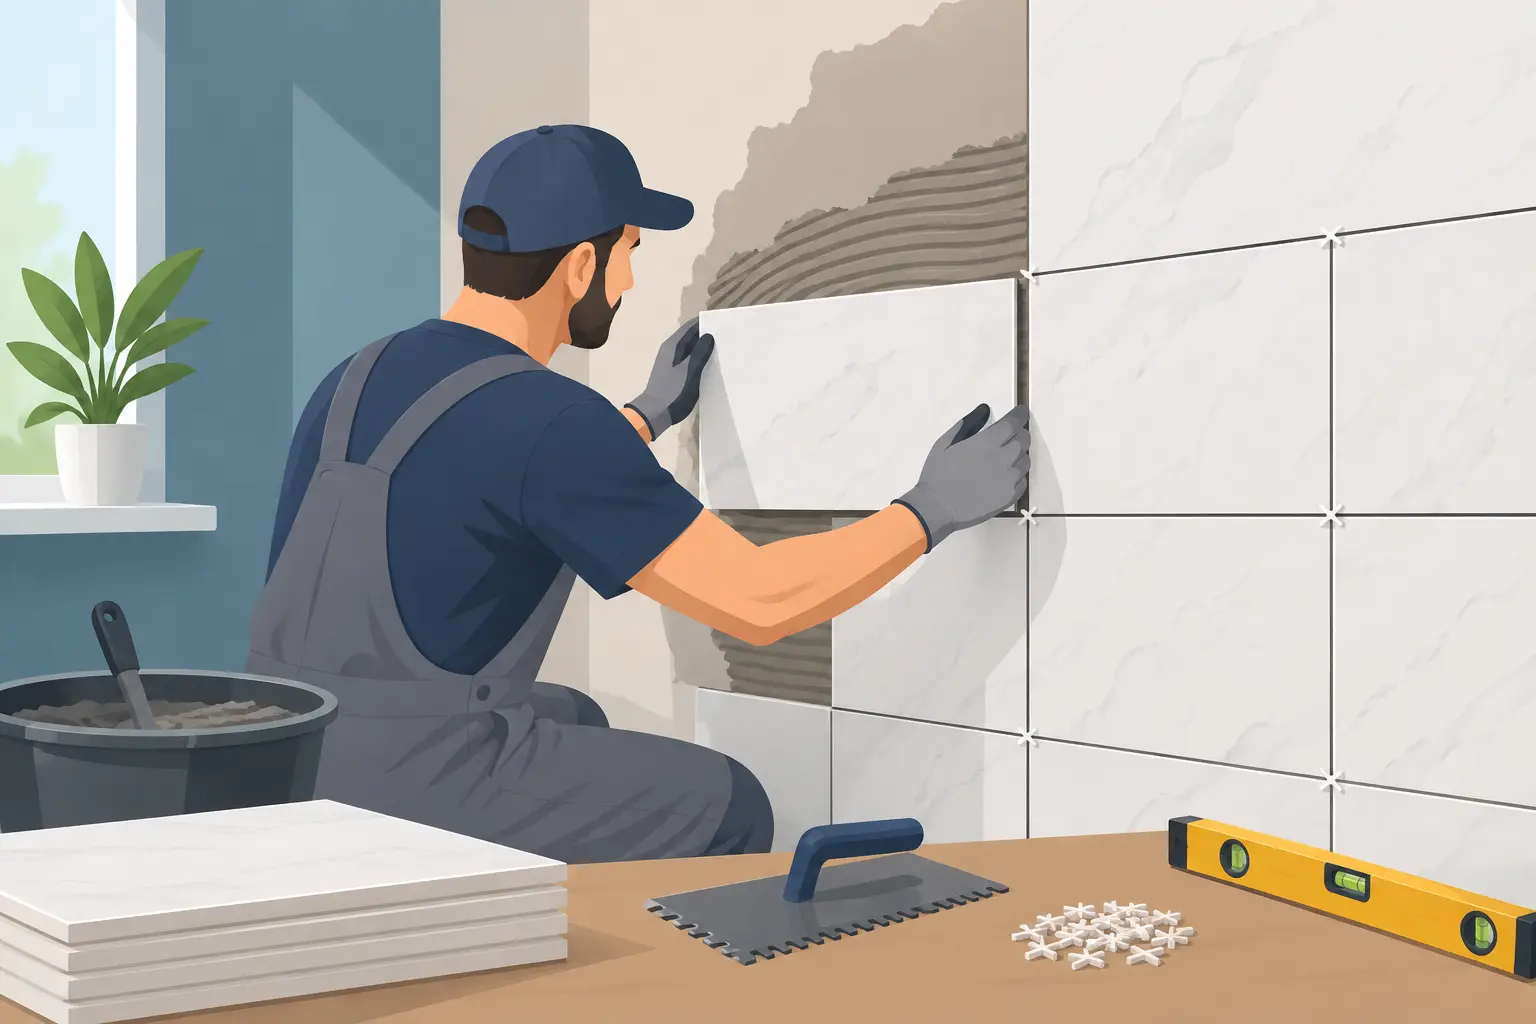
A wall can look reasonably straight until tile is laid across it. Then every hollow, high spot and out-of-plumb corner becomes visible in the grout lines, tile edges and finished reflection. Knowing how to tile uneven walls starts with an honest assessment of the surface, not an attempt to hide its faults with extra adhesive. The best result comes from correcting the wall first, then installing tile with careful setting-out and consistent workmanship.
For bathrooms, kitchens, laundries and commercial wet areas, this preparation protects more than appearance. It supports reliable adhesion, cleaner grout joints and a finish that remains easy to maintain over time.
Assess the wall before choosing a tiling method
Not all uneven walls need the same treatment. A slight surface variation may be manageable during installation, while a bowed, loose or moisture-damaged wall requires repair before a single tile is fixed. Run a long straightedge, spirit level or aluminium screed across the wall in several directions. Check vertically, horizontally and diagonally, particularly around shower corners, niches, window reveals and plumbing penetrations.
You are looking for more than a wall that appears wavy. Identify whether the issue is a local hollow, a raised patch, a wall that leans, or a substrate that has movement or damage. These differences determine the right preparation work.
Common warning signs include:
- A straightedge rocks over raised areas or reveals deep hollows.
- Existing paint, plaster or render sounds hollow, flakes away or feels soft.
- Corners are visibly out of square, affecting cuts and tile alignment.
- The wall has signs of past water damage, mould, cracking or movement.
A small variation behind a large-format tile can create lipping, where one tile edge sits higher than the next. With small mosaics, the sheet may follow the wall contour, but irregularity can still distort grout lines. The larger and glossier the tile, the less forgiving the finished surface will be.
How to tile uneven walls: fix the substrate first
Tile adhesive is designed to bond tile to a properly prepared surface. It is not a substitute for render, wall leveller or a sound backing board. Building up adhesive beyond the manufacturer’s recommended bed thickness can lead to shrinkage, poor support, slow curing and tiles that sit unevenly.
Start by removing anything that compromises adhesion. This may include loose paint, failed plaster, old adhesive residue, dust, soap build-up and friable render. In wet areas, investigate the cause of any staining or softness before repairs begin. Tiling over an unresolved leak or failed waterproofing system can turn a cosmetic upgrade into a costly repair.
For shallow low spots, a suitable cement-based wall levelling compound or patching mortar can bring the surface into plane. Apply it in controlled coats, allow it to cure as specified, then recheck with a straightedge. High spots may be ground back where the substrate and dust controls allow. The aim is not merely a smoother wall. It is a flat, stable plane that gives every tile proper support.
Where the wall is significantly bowed, badly out of plumb or structurally unsound, removal and replacement may be the more reliable option. Cement sheet or an appropriate tile backing board can create a true surface, provided it is correctly fixed to a sound framing system. In showers and other wet zones, waterproofing must be completed in line with Australian requirements before tiling starts.
This is the point where professional assessment can save time. A wall may look like a simple levelling job, yet conceal failed lining, movement from framing or moisture damage behind the surface.
Set out from the most visible line
Once the wall is flat, setting-out determines whether the room feels polished or improvised. Do not assume the floor, ceiling, benchtop or corner is level. Older homes and renovated properties often have surfaces that run out by several millimetres, and following them blindly can make a neat tile installation appear crooked.
Establish a level datum line using a laser level or quality spirit level. For wall tiling, installers commonly fix a straight ledger board at the starting height so the first full course remains perfectly level while the adhesive cures. The bottom row can then be cut accurately to follow any variation in the floor, bath or shower base.
Plan the layout before mixing adhesive. Dry-lay tiles where practical, calculate joint widths and check where cuts will land. A balanced layout usually avoids narrow slivers at a prominent edge, around a niche or beside a doorway. In a feature wall, centring the pattern on the focal point often produces the strongest visual result. In a shower, the relationship between wall tiles, the floor fall, the niche and the fittings needs to be considered together.
Corners deserve particular care. If adjoining walls are not square, forcing equal cuts on both sides may not work. It may be better to maintain a clean visual line on the wall most often seen and place the tapered cuts in a less noticeable return. This is not cutting corners – it is making a deliberate design decision that respects the room.
Choose tile size and adhesive technique carefully
Tile selection affects how much movement in the wall can be tolerated. Large-format porcelain and rectified tiles create a refined, contemporary look, but they demand a flatter substrate and tighter installation control. Their crisp edges make lipping more obvious, especially under side lighting from windows or downlights.
Smaller tiles can be more adaptable on gently uneven surfaces because there are more grout joints to absorb minor variation. They are not, however, a solution for a poorly prepared wall. If the substrate is moving or deeply uneven, small tiles will simply reproduce the problem across more joints.
Use a tile adhesive suited to the tile type, substrate and location. Mix it to the specified consistency and apply it with the correct notched trowel. Comb adhesive in straight, parallel ridges rather than swirls. For larger tiles, back-buttering the tile helps achieve fuller coverage and reduces voids behind the finished surface.
Press tiles into the adhesive with a slight sliding motion across the ridges, then lift the occasional tile to check coverage. In wet areas, full and consistent support is particularly important. Voids can leave tiles vulnerable to cracking and allow moisture to sit where it should not.
Levelling clips and wedges can help control lipping between adjacent large tiles, but they cannot straighten a bowed wall. Used on an uneven substrate, they may pull tiles into tension or encourage excessive adhesive build-up. They are a finishing aid, not a repair method.
Maintain joints, movement gaps and clean edges
Precision is most visible in the small details. Tile spacers should be used consistently, and adhesive must be cleaned from joints before it hardens. Grout cannot perform properly in a joint that is partly blocked with cured adhesive, and shallow grout joints often crack or stain prematurely.
Leave movement joints where wall planes meet, around fixtures and at changes in material. These joints should be finished with an appropriate flexible sealant rather than rigid grout. Bathrooms, balconies and commercial spaces experience thermal movement, vibration and building settlement. Allowing for that movement helps preserve both the tile finish and the waterproofed surface behind it.
At external corners, choose a finish that suits the tile and design. Mitred edges can look exceptionally refined but require accurate cuts and suitable tile material. Tile trims provide protection and a crisp line, particularly where an exposed edge may receive regular knocks. Neither option is automatically better – durability, location and the desired finish should guide the choice.
Know when uneven walls need a tiling specialist
A homeowner may be able to handle minor preparation in a dry, low-risk area, provided the substrate is sound and product instructions are followed. A shower wall, a wall with suspected water damage, a large-format feature installation or a commercial fit-out is different. The consequences of poor preparation can include tile failure, cracked grout, water ingress and a finish that never looks quite straight.
Specialist tilers bring more than the ability to lay tiles. They assess substrate condition, establish accurate lines, manage waterproofing interfaces and make layout decisions that protect the visual balance of the room. At A1 Grouting & Tiling, this attention to preparation is part of achieving the clean alignment, durable adhesion and flawless finish clients expect.
A beautifully tiled wall does not begin with the first tile. It begins with a surface made true, a layout planned with care and workmanship that refuses to let an uneven wall dictate the final result.