 10 years of water leakage warranty for Regrouting showers.

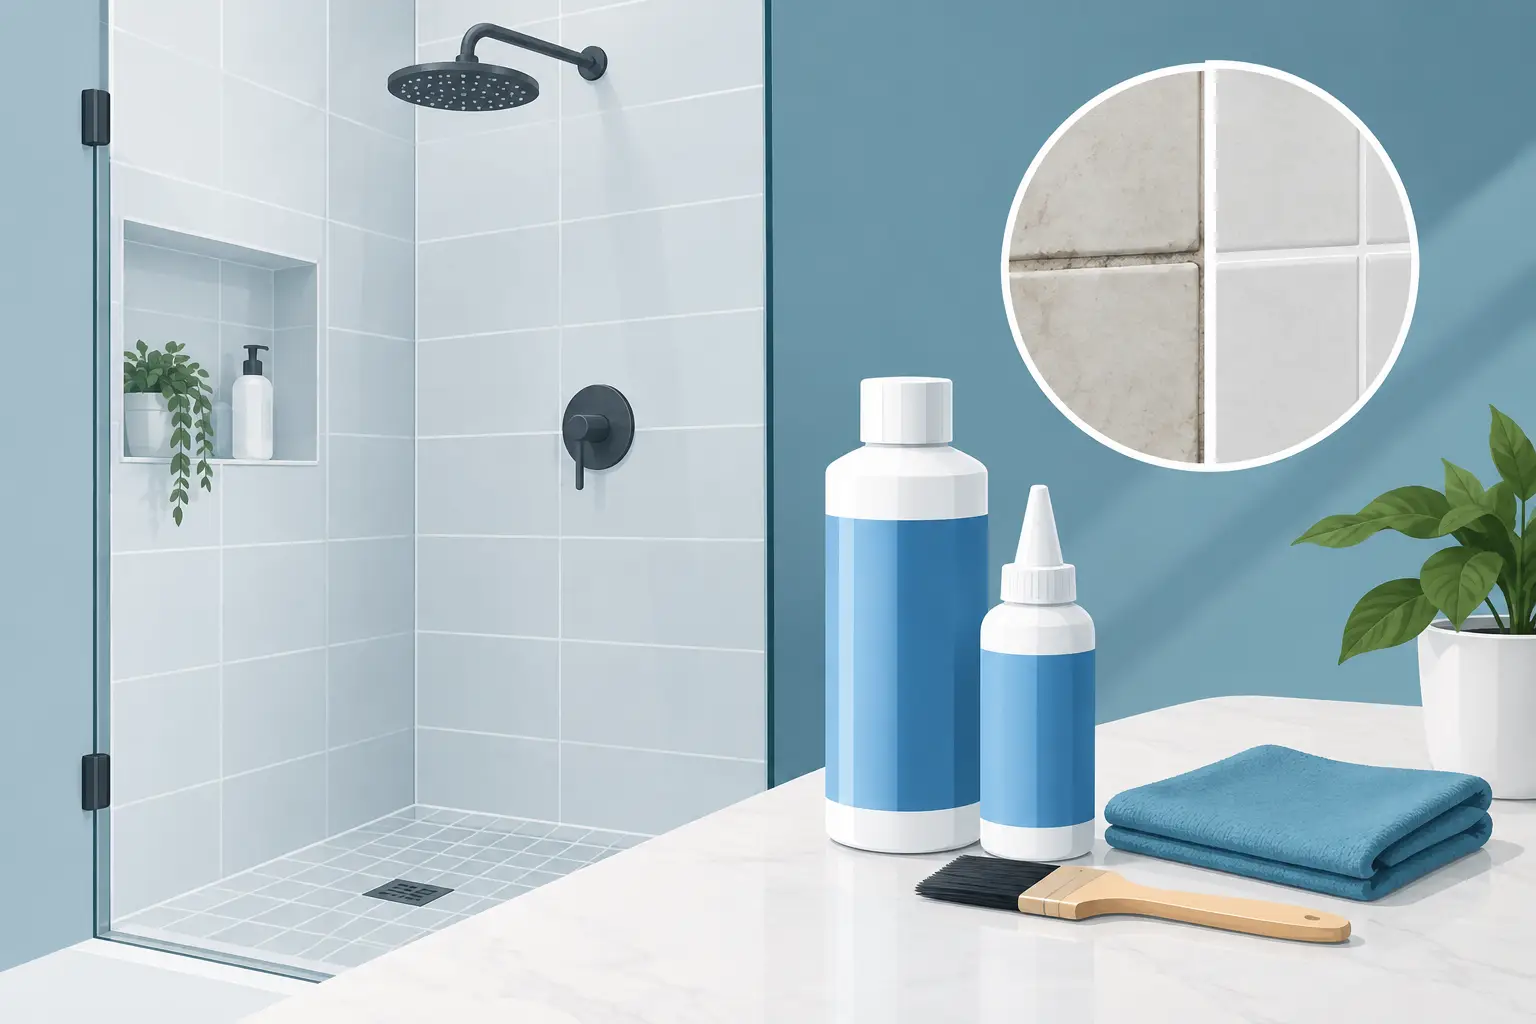
A clean-looking shower can still be hiding a grout problem. When water no longer beads on the joints, dark patches return soon after cleaning, or grout feels sandy to the touch, a sealer may help – but only if the grout beneath it is sound. This shower grout sealer review looks beyond the label promises to explain what different sealers do, where they fall short, and how to choose a finish that protects both the appearance and performance of your shower.
Shower grout sealer review: what matters most
A grout sealer is not a substitute for waterproofing, quality grout, or a properly finished shower. Its role is more specific: it reduces the amount of water, soap residue, body oils and surface staining that can absorb into porous cement-based grout. That makes routine cleaning easier and helps preserve a fresher, more consistent colour.
The best product is not necessarily the one with the boldest claim of “maximum protection”. It is the one that suits the tile, grout type, shower use and condition of the joints. A lightly used ensuite with newly installed cement grout has very different needs from a busy family bathroom with worn grout, persistent mould and cracked silicone around the perimeter.
For most showers, a penetrating sealer is the better choice. It soaks into porous grout and creates water resistance below the surface while allowing moisture vapour to escape. The grout retains a natural appearance rather than looking coated. This matters in wet areas, where a surface film can wear unevenly or trap moisture if applied to unsuitable material.
Topical sealers sit closer to the surface and can give a richer, slightly enhanced appearance. They can be useful for particular decorative finishes, but they demand more care. In a shower, a film-forming product may peel, turn patchy or create an artificial sheen over time. Unless the tile and grout manufacturer specifically recommends it for constant wet use, it is rarely the first option for shower walls or floors.
What a quality sealer should do
A worthwhile shower grout sealer should absorb evenly, dry without leaving a visible haze on the tile face, and allow water to bead rather than soak into clean grout. It should also resist staining from shampoo, soap scum and everyday bathroom products. Those are practical measures of performance, not just marketing language.
Look for a sealer that is clearly suitable for interior wet areas and your grout type. Most standard cement-based grouts are porous and benefit from sealing. Epoxy grout is far less absorbent and generally does not require a penetrating sealer. Applying a product unnecessarily can leave residue and create more cleaning work, not less.
Low-odour, water-based formulas are often the sensible option for occupied homes. They are easier to manage in enclosed bathrooms and simpler to clean from tiles if caught quickly. Solvent-based products can offer strong penetration in some situations, especially on very porous surfaces, but they require careful ventilation and strict attention to the manufacturer’s safety instructions.
The trade-off: protection is not a permanent cure
The common mistake is expecting a sealer to fix grout that has already failed. Sealer cannot bond loose grout back into a joint. It cannot stop movement cracks, repair failed waterproofing, remove deep mould growth, or seal a gap where silicone should be. It also cannot prevent water entering behind tiles if the shower construction has been compromised.
If grout is crumbling, deeply stained, missing in places or repeatedly cracking, applying sealer may temporarily improve the surface but it will not address the underlying issue. The same is true when moisture is appearing on an adjoining wall, paint is bubbling, or tiles sound hollow. These are signs to investigate before adding any coating.
In a well-maintained shower, sealing is preventative maintenance. In a worn shower, regrouting may be the better investment. Removing failed grout, preparing the joints correctly, replacing deteriorated silicone and finishing the work with an appropriate sealer produces a result that looks cleaner and performs with greater confidence.
Do not confuse grout with silicone
Grout is used between tiles across flat tiled surfaces. Flexible silicone is used at changes of plane, such as wall-to-wall corners, wall-to-floor junctions, around shower screens and where tiles meet a bath or vanity. These areas move slightly with normal building movement, and rigid grout will often crack there.
A grout sealer does not protect failed silicone. If corner joints are blackened, split or lifting away from the tiles, they need to be removed and replaced with quality sanitary silicone. A clean, precise silicone line has a major effect on both hygiene and the finished appearance of a bathroom.
How to assess shower grout before buying a sealer
Start with a close inspection after the shower has been thoroughly cleaned and allowed to dry. If the grout colour improves dramatically when dry but quickly looks dark after a shower, it may simply be absorbing water. If the joints remain discoloured even after careful cleaning, staining may be embedded below the surface.
Run a fingertip along the grout lines. Sound grout should feel firm and continuous. Gritty sections, recesses, cracks and gaps suggest deterioration. Pay particular attention to the shower floor, corners, screen edge and lower wall joints, where water exposure is greatest.
A simple water-drop test can help. Place a few drops of water on a clean, dry grout joint. If they bead for several minutes, the existing protection may still be working. If they darken the grout almost immediately, the surface is absorbent and may be ready for resealing. This is a guide only, not a diagnosis of the waterproofing behind the tiles.
Mould also deserves a realistic assessment. Surface mould caused by condensation and soap residue can often be cleaned before sealing. But mould that returns from within cracks, damaged joints or persistently damp areas points to a moisture issue that sealing alone will not resolve.
Application quality affects the result
Even an excellent sealer can disappoint when it is applied over soap film, cleaning residue or damp grout. Preparation is where long-lasting results are won or lost. The shower should be properly cleaned, rinsed to remove product residue, and given sufficient drying time. Applying sealer to damp joints can reduce penetration and leave an inconsistent finish.
Use an applicator that keeps the product on the grout line rather than flooding the tile face. A small brush, narrow roller or dedicated grout applicator provides better control than a large sponge. Work in manageable sections and follow the product’s stated dwell time. Wipe excess from tiles before it dries, particularly on textured, matte or natural stone surfaces where residue can be difficult to remove.
Some grout needs a second coat, while others will not absorb more product after the first application. More is not always better. Over-applying can leave a sticky or shiny residue, attract grime and create uneven patches that detract from an otherwise polished tiled finish.
Allow the full curing time before using the shower. This is often the part homeowners understandably want to shorten, especially in a one-bathroom household, but curing is essential. Water exposure too soon can weaken the sealer’s performance before it has had the chance to establish proper protection.
How long should shower grout sealer last?
There is no reliable one-size-fits-all answer. A high-traffic shower, hard water, abrasive cleaners, steam and frequent use will reduce the life of any sealer. In many homes, checking grout annually and resealing as required is more realistic than relying on a fixed multi-year promise.
The water-drop test is a better indicator than the calendar. If clean, dry grout starts absorbing water quickly again, it is time to inspect the joints and consider another coat. Avoid harsh acidic cleaners, bleach-heavy products and aggressive scrubbing wherever possible. They can wear grout, affect sealers and shorten the life of silicone.
For daily care, a quick squeegee after showering, reasonable ventilation and a mild pH-neutral cleaner make a noticeable difference. These small habits reduce the constant moisture and soap build-up that give mould and staining a foothold.
When professional regrouting is the smarter option
A sealer is a valuable finishing step after quality tiling or regrouting. It is not a shortcut around damaged work. Where grout lines are failing, the shower has recurring mould, or the finish is bringing down the whole bathroom, professional assessment can prevent a cosmetic repair from becoming an expensive water damage issue.
A1 Grouting & Tiling approaches shower restoration with the detail that wet areas demand: sound joint preparation, clean grout lines, correctly finished silicone and a refined result that complements the room. For regrouted showers, workmanship backed by a 10-year water leakage warranty offers confidence that reaches beyond a surface refresh.
The right sealer should leave your grout looking natural, feeling clean and standing up better to everyday shower use. If the joints are already telling you they need more than protection, addressing the cause now is the most reliable path to a bathroom that remains hygienic, durable and beautifully finished.