 10 years of water leakage warranty for Regrouting showers.
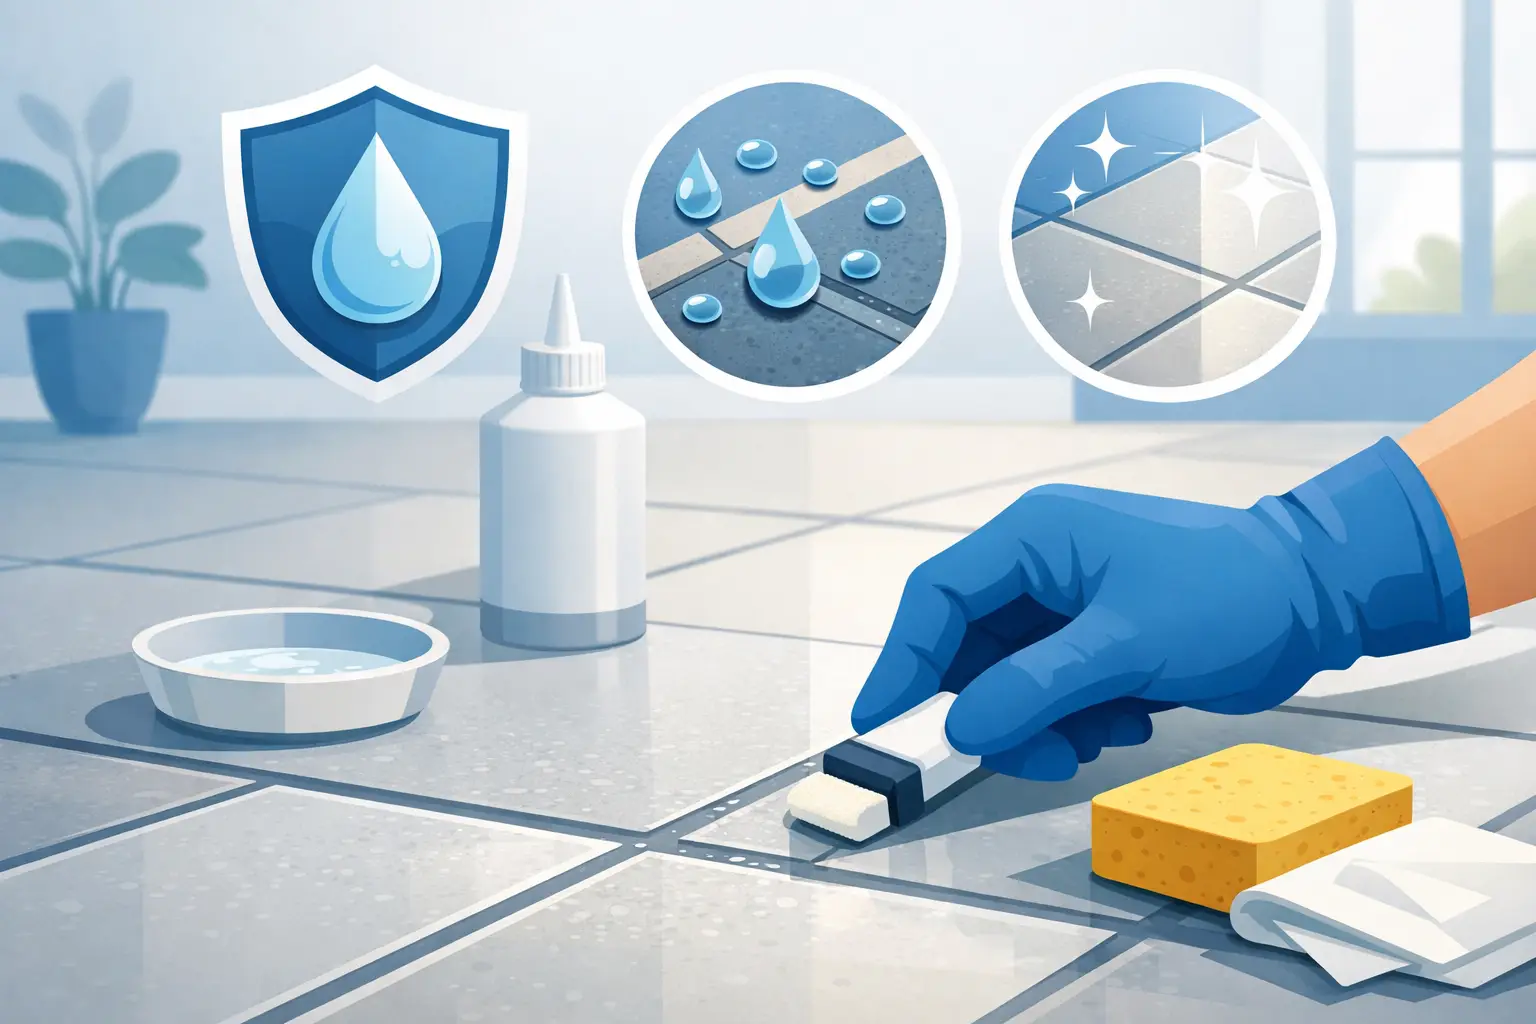
Freshly cleaned tiles can still look tired if the grout is porous, patchy or permanently stained. Knowing how to seal floor grout properly makes a noticeable difference – not just to appearance, but to hygiene, moisture resistance and the overall lifespan of your tiled floor.
For homeowners, landlords and property managers, grout sealing is one of those maintenance jobs that seems minor until the floor starts absorbing spills, trapping dirt or discolouring around high-traffic areas. Done well, sealing helps preserve a cleaner, sharper finish and reduces the day-to-day effort needed to keep tiled spaces looking presentable.
Why sealing grout matters
Grout is naturally porous. Even when it looks solid, it contains tiny openings that can draw in moisture, oils, soap residue and general grime. On kitchen floors, that usually means staining from food and spills. In bathrooms and laundries, it often means moisture retention, mould growth and a dull, aged appearance.
Sealing creates a protective barrier that helps the grout resist absorption. It does not make grout indestructible, and it will not repair cracked or missing joints, but it does buy you time and protection. Floors stay easier to clean, stains are less likely to set deeply, and the whole tiled area tends to maintain a more refined finish.
That said, sealing is not always a once-and-done solution. The result depends on the type of grout, the sealer used, the condition of the floor and how much wear the area gets. A hallway floor and an ensuite floor can behave very differently over time.
How to seal floor grout: start with the right prep
The quality of the prep work usually decides the quality of the result. If the grout is dirty, damp or already deteriorating, sealing over the top will simply lock in the problem.
Start by inspecting the grout lines closely. If you can see cracks, gaps, crumbling sections or loose grout, those areas need repair before any sealer goes on. Sealer is designed to protect sound grout, not to patch structural issues.
Once the grout is in good condition, clean the floor thoroughly. Use a pH-neutral tile and grout cleaner where possible, and avoid leaving behind any residue. Heavy chemical products can interfere with adhesion if they are not fully rinsed away. Scrub the grout lines well, especially in traffic lanes and corners where grime tends to build up.
After cleaning, let the floor dry completely. This step is often rushed, and it shows. If moisture is trapped in the grout, the sealer may not penetrate properly and the finish can become uneven. In some cases, you may need to leave the floor for at least 24 hours, or longer in humid conditions.
Choosing the right grout sealer
Not all sealers perform the same way, and the best option depends on the tile type, grout condition and location of the floor.
Penetrating sealers are generally the preferred choice for floor grout. They soak into the grout and provide protection below the surface without leaving a visible film. This tends to suit tiled floors best because it preserves the natural look while offering stain resistance.
Topical sealers sit more on the surface and can alter the finish slightly. In some cases they may add a sheen, but they can also wear unevenly in high-traffic areas. For most residential floor grout, a quality penetrating sealer is the more reliable option.
It is also worth checking whether your tiles are porous. Natural stone and some unglazed tiles can absorb sealer, which means application needs to be more controlled. If the wrong product is used, you can end up with haze, patchiness or a finish that looks inconsistent across the floor.
Applying sealer without making a mess of the tiles
When people ask how to seal floor grout, what they usually want to know is how to do it neatly. The goal is to protect the grout lines without leaving residue all over the tile surface.
Apply the sealer carefully along the grout joints using an applicator bottle, small brush or roller designed for grout work. Work in manageable sections rather than trying to cover the whole room at once. This gives you better control and makes it easier to wipe away any excess before it dries.
Most sealers need time to penetrate. Follow the manufacturer’s directions closely, because dwell times vary. If the product sits too briefly, protection can be reduced. If it sits too long on the tile face, it may leave a haze that takes effort to remove.
Once the sealer has had time to absorb, wipe the tile surface with a clean dry cloth or microfibre towel. This step helps prevent residue and keeps the finished floor looking crisp rather than cloudy.
Some grout lines will need a second coat, particularly if the grout is older or more porous. A simple water drop test can help. If a small drop of water darkens the grout quickly, it may need additional sealing.
Common mistakes that shorten the life of grout sealer
The most common problem is sealing dirty grout. If the floor still contains embedded grime, soap film or old product residue, the sealer will not perform properly and the finished result can look dull from the start.
The second issue is applying sealer too soon after cleaning or regrouting. Grout needs to be fully dry, and fresh grout needs proper curing time before sealing. If this stage is skipped, moisture can become trapped and compromise the protective layer.
Using too much sealer is another frequent mistake. More product does not necessarily mean better protection. Excess sealer can sit on the tile surface, attract marks and create a patchy appearance that undermines the look of an otherwise well-finished floor.
There is also the assumption that sealed grout never needs maintenance again. In reality, sealed grout still needs regular cleaning with suitable products. Harsh cleaners can wear down the sealer faster, while neglect allows dirt to settle on the surface and gradually spoil the finish.
How long does sealed floor grout last?
This depends on traffic, cleaning habits and the quality of the original application. In low-traffic areas, a good sealer may hold up well for several years. In busy kitchens, entryways or commercial spaces, the protection may wear faster and require more frequent attention.
A simple test is to place a few drops of water on the grout line. If the water beads on the surface for several minutes, the sealer is likely still doing its job. If it absorbs quickly and darkens the grout, resealing is worth considering.
Regular maintenance also affects longevity. Gentle cleaning, quick attention to spills and avoiding aggressive chemicals all help extend the life of the sealed finish.
When DIY is fine and when a professional makes sense
For a small tiled area with sound grout and straightforward access, sealing can be a manageable DIY task. If you are careful with prep and patient with application, the result can be worthwhile.
But there are situations where professional help is the smarter option. Large floor areas, heavily stained grout, uneven previous sealing, moisture issues or damaged joints usually call for a more experienced approach. The same applies when appearance matters as much as function, such as in open-plan living areas, renovated bathrooms or commercial interiors where presentation is part of the value of the space.
A professional can assess whether the grout should be cleaned, repaired, recoloured, regrouted or sealed, rather than treating every floor as if sealer alone will solve it. That distinction matters. A floor with worn grout lines may need restoration before protection, otherwise the finish will never look truly complete.
For clients who want precision, durability and a cleaner final presentation, that extra level of care is often what separates a short-term fix from a lasting improvement. It is the difference between a floor that merely looks better for a few weeks and one that stays sharper, cleaner and easier to maintain over time.
A better finish starts below the tile surface
Grout sealing is not the most visible part of a tiled floor, but it has a direct impact on how the whole surface performs and presents. When the grout is properly cleaned, repaired where needed and sealed with care, the floor holds its finish better and feels easier to live with.
If you are weighing up how to seal floor grout in your own property, focus less on rushing the job and more on getting the condition, product and application right. A well-protected grout line does more than resist stains – it supports the polished, long-lasting result every quality tiled floor deserves.