 10 years of water leakage warranty for Regrouting showers.
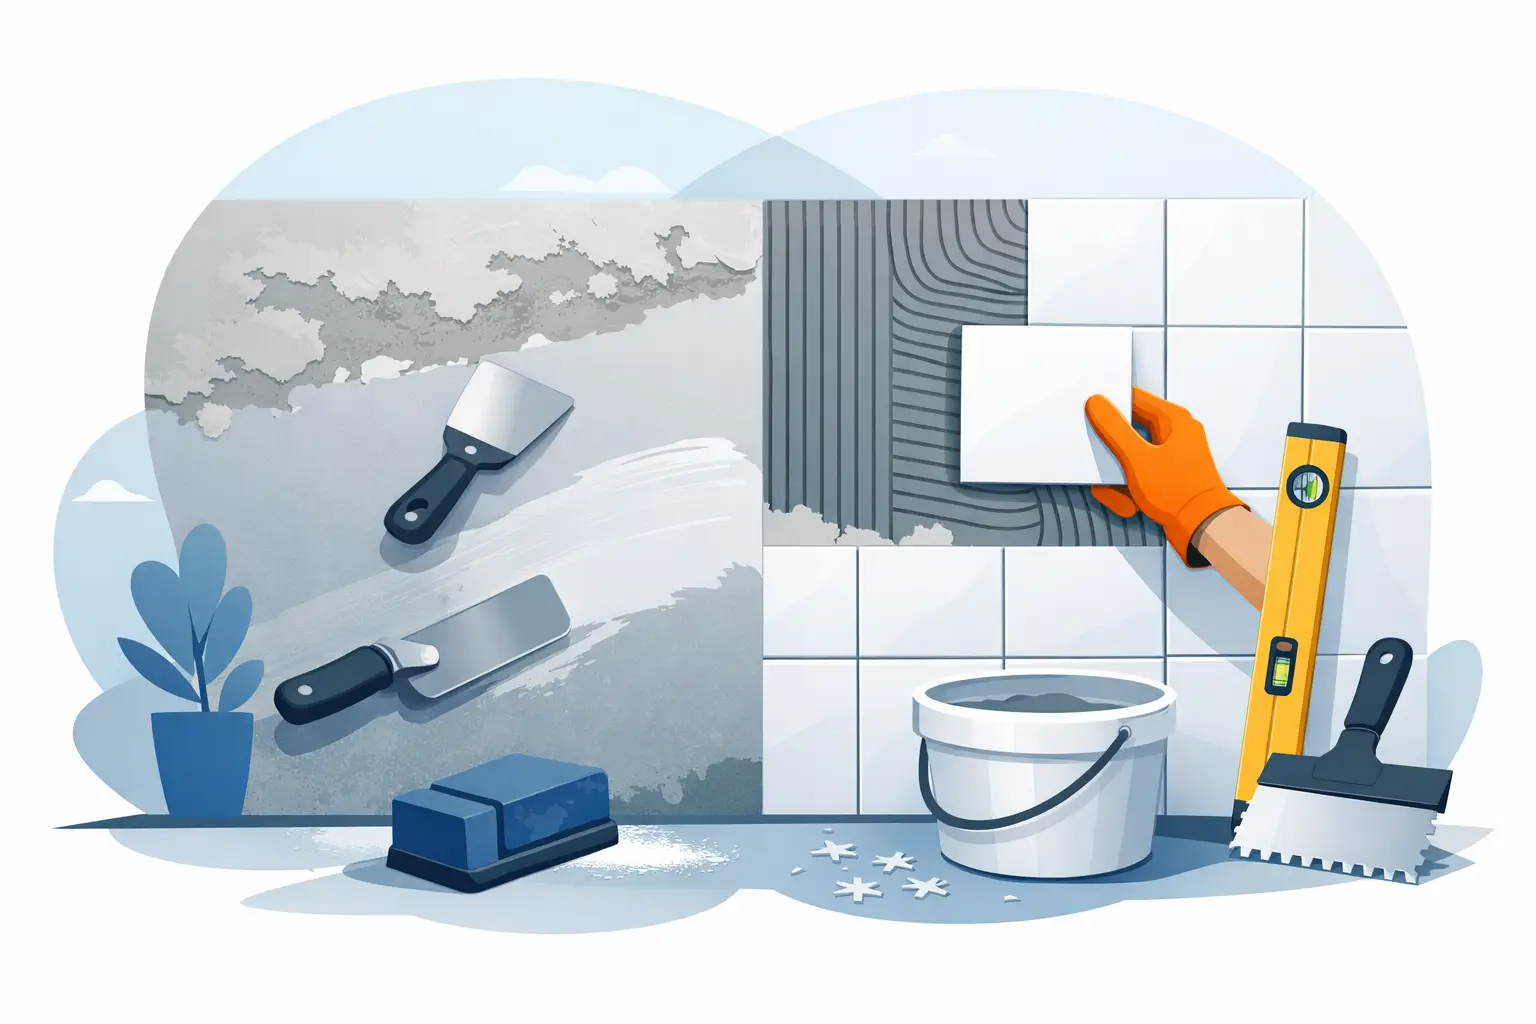
A tiled wall only looks as good as the surface behind it. If you want to know how to prepare walls for tiling, the short answer is this: get the wall clean, flat, sound and suitable for the tile adhesive you plan to use. Skip that groundwork and even premium tiles can end up uneven, drummy, cracked or prone to failure.
Good preparation is where durability starts. It affects how well the tiles bond, how straight your lines stay, and how confidently the finished wall handles moisture, movement and everyday wear. In bathrooms, kitchens and commercial fit-outs alike, the difference between an average result and a flawless finish usually begins before the first tile is set.
Why wall preparation matters before tiling
Tiles are not designed to correct a poor substrate. Adhesive can help with small inconsistencies, but it is not a substitute for proper surface preparation. If a wall is dusty, flaky, painted with the wrong coating, or out of plumb, the tiled finish will usually show it.
This is especially true with larger format tiles. They are less forgiving than smaller tiles and will highlight dips, bows and uneven surfaces very quickly. A wall that seems acceptable at first glance can become a problem once set-out lines are marked and the tile faces begin reflecting light.
In wet areas, preparation carries even more weight. Bathrooms and showers need surfaces that are not only stable but also compatible with waterproofing requirements. Tiling directly onto an unsuitable wall can compromise both appearance and long-term performance.
How to prepare walls for tiling: start with the wall type
Before you reach for adhesive or a notched trowel, identify what the wall is made from. That will tell you what needs to be removed, repaired or primed.
Plasterboard and cement sheeting
Plasterboard can be suitable in some dry internal areas, provided it is sound, secure and rated for the application. In wet areas, fibre cement sheeting or another approved tile underlay is generally the better choice. If the board is water-damaged, soft, mould-affected or loose on the studs, it needs replacing rather than patching over.
Cement sheeting is a reliable tiling substrate because it handles moisture better and offers a more stable base. Even then, the joints, fixings and surface condition still need checking.
Painted walls
Paint is one of the most common problem surfaces. Some painted walls can be tiled over, but only if the coating is firmly bonded, clean and suitable for adhesion. Glossy finishes, peeling paint or multiple unstable layers should not be trusted.
In many cases, the safest approach is to remove the paint mechanically or install a suitable tiling substrate over the top. If you tile onto weak paint, the adhesive may bond well to the coating, but the coating can still let go from the wall.
Rendered masonry and concrete
Rendered blockwork, brick and concrete can make excellent tiling surfaces when properly cured and level. The key issue is often flatness. Hairline cracking, dusty residue, laitance and patchy porosity can all affect bond strength. Older masonry may also need repairs before it is ready for tiling.
Check for flatness, soundness and moisture issues
Once you know the substrate, assess its condition properly. This step gets rushed far too often, yet it tells you whether the wall can be tiled as is, needs repair, or should be replaced.
Use a straightedge to check for bows, hollows and high spots. A wall does not have to be visually perfect before tiling, but it does need to fall within acceptable tolerances for the tile size being used. The larger the tile, the flatter the wall needs to be.
Tap across the surface and look for drummy render, loose sheeting or any movement. If the substrate flexes, crumbles or sounds hollow in the wrong places, it is not ready. Also check for staining, mould, rising damp or previous water damage. Tiling over a moisture problem does not fix it. It hides it for a while and often makes the eventual repair more extensive.
Remove anything that can weaken adhesion
A tile adhesive needs direct contact with a stable, clean surface. Dust, grease, soap residue, old wallpaper adhesive and flaky compounds all interfere with that bond.
Wash down surfaces where needed, especially in kitchens, laundries and splashback areas where grease or cleaning products may have built up. Scrape away loose paint, fill crumbling sections and sand back anything glossy. Vacuuming the wall after sanding is a small step, but it makes a real difference.
Old tiles can sometimes be tiled over, but only in certain conditions. The existing tiles must be firmly bonded, thoroughly cleaned, and the added thickness must work with trims, fixtures and door clearances. Even then, it is often a judgement call based on the site and finish required.
Repair and level the surface before any adhesive goes on
One of the biggest mistakes in wall tiling is trying to fix unevenness with adhesive alone. That can lead to inconsistent coverage, lippage and weak spots behind the tile.
Small holes and minor surface damage can be repaired with suitable patching compounds. Larger deviations may need levelling or skim coating with a product designed for tiling substrates. Cracks need more attention. Some are superficial, while others indicate movement that should be addressed before tiling begins.
Corners and junctions also matter. If internal corners are badly out, or external edges are rough and wandering, the finished tile work will struggle to look refined. Preparation is what gives you the clean geometry that quality tiling depends on.
Prime the wall if the substrate requires it
Not every wall needs priming, but many do. Primers help regulate porosity, improve adhesion and reduce the risk of the substrate pulling moisture too quickly from the adhesive.
Porous surfaces such as cement sheet, render or patching compounds may need a primer suited to the adhesive system being used. Non-porous or difficult surfaces may require a specialist bonding primer. The important point is compatibility. Products are designed to work as systems, and mixing them without checking the specifications can create avoidable problems.
This is one of those areas where experience matters. The right primer on the right wall helps produce a more predictable bond and a cleaner install. The wrong one can do very little, or worse, interfere with performance.
Wet areas need more than a tidy wall
If you are preparing a shower wall or another wet area, standard prep is only part of the job. The wall must also be suitable for waterproofing in accordance with current requirements. Tiling itself is not a waterproof barrier.
That means the substrate has to be sound, correctly sheeted where required, and ready for membranes, bond breakers and detailing around penetrations and corners. If the wall has been patched poorly, built out unevenly or left contaminated, waterproofing products may not perform as intended.
For homeowners and property managers, this is where cutting corners becomes expensive. A neat tile finish can hide poor prep for a while, but moisture has a way of finding weak points. At A1 Grouting & Tiling, we see the after-effects of rushed wet area work often enough to know that proper preparation is never the place to save time.
Plan the layout before you start tiling
Preparation is not only about the substrate. It also includes set-out. Once the wall is clean, repaired and primed, mark your levels and check how the tile layout will land around fixtures, corners and edges.
This is where you avoid awkward slivers, uneven cuts and visual imbalance. A centred layout may look best on one wall, while another may need to prioritise full tiles at eye level or clean lines around niches and vanities. Good set-out protects the final look just as much as good adhesion protects the tile bond.
It also helps reveal any remaining surface issues. When set-out lines do not behave as expected, the wall may still be out more than first thought.
Common preparation mistakes to avoid
The most common issue is underestimating the wall condition. A surface can look straight until a long straightedge proves otherwise. Another is tiling over paint, old adhesive or loose render without checking whether the substrate underneath is truly sound.
People also get caught by moisture damage, especially in older bathrooms. Replacing tiles without addressing swollen sheeting, failed waterproofing or movement in the wall framing usually leads to repeat problems. Then there is product mismatch – using the wrong adhesive, primer or repair compound for the substrate and tile type.
The trade-off is simple. Thorough preparation takes more time upfront, but it protects finish quality, durability and the value of the job. Rushed prep often looks cheaper only until rectification starts.
When to call a tiling specialist
If the wall is in a wet area, badly out of level, cracked, previously tiled, or showing signs of water damage, it is worth getting specialist advice before moving ahead. The same applies if you are using large format tiles, natural stone or a feature layout where imperfections will be obvious.
Wall preparation is one of those stages that does not attract much attention when it is done well, yet it shapes everything that follows. Get the surface right and the tiling process becomes cleaner, more precise and far more dependable.
A well-prepared wall gives your tiles the best chance to perform beautifully for years, and that is where a quality finish really begins.