 10 years of water leakage warranty for Regrouting showers.

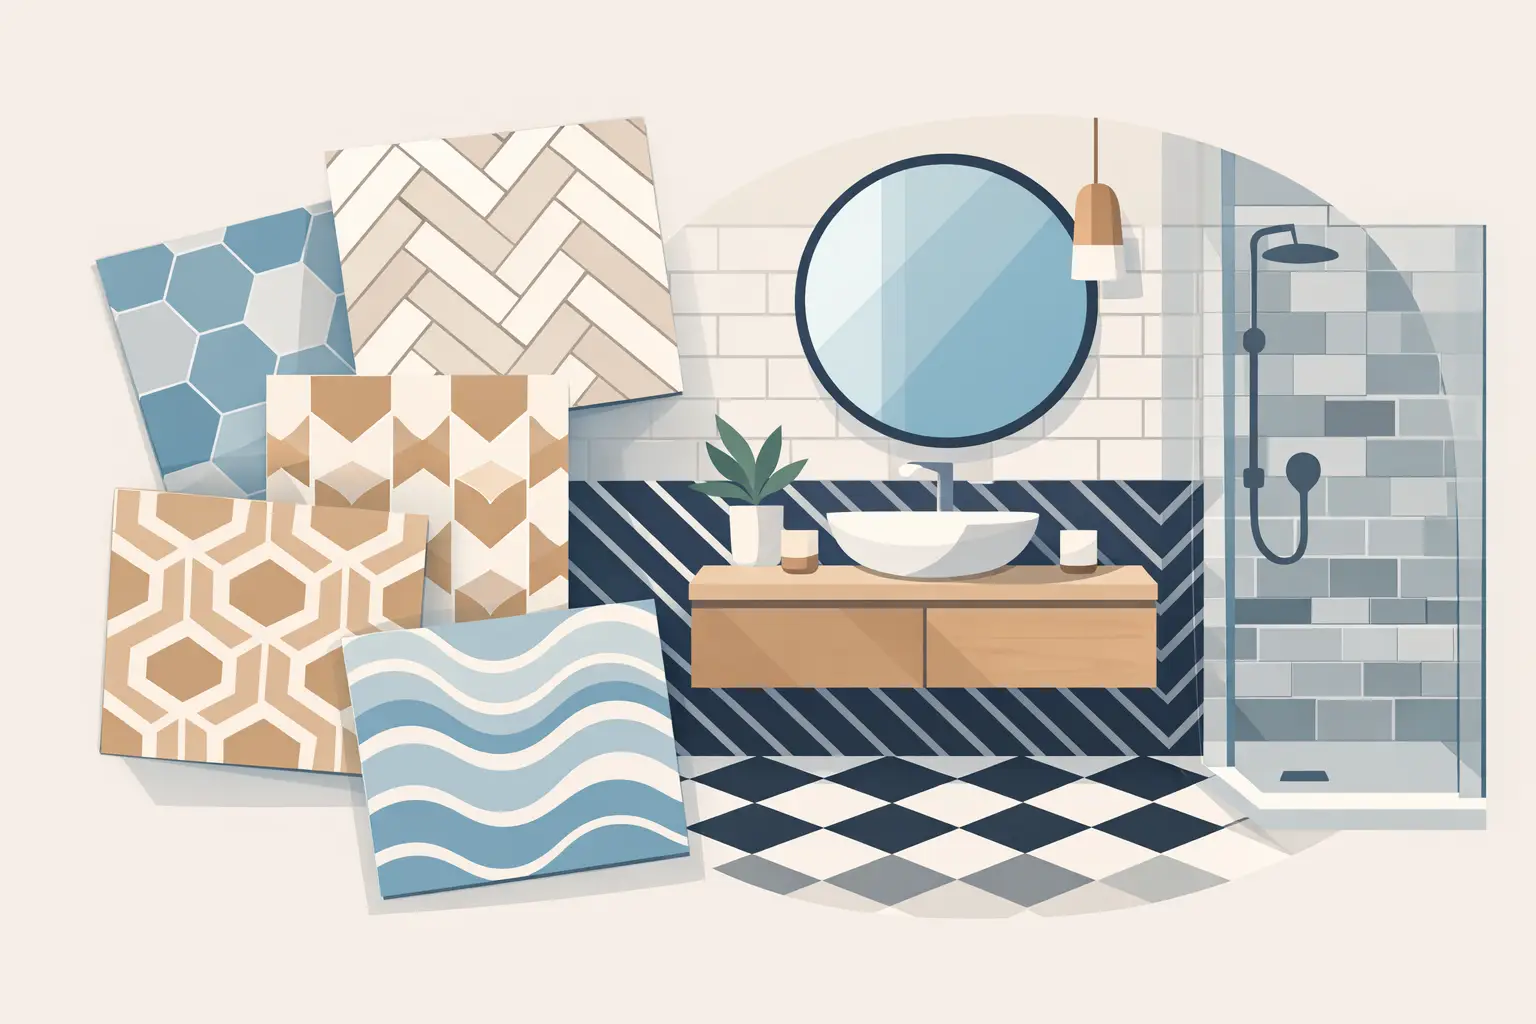
A bathroom can have premium fittings and a beautiful vanity, but poorly planned tile layout will still make the room feel unfinished. The best bathroom tile patterns do more than add visual interest. They set the sense of scale, direct the eye through the room, support safer flooring and create a finish that remains practical to clean for years.
The right choice depends on the bathroom’s size, natural light, tile format and how much maintenance you want from grout lines. A pattern that suits a generous ensuite may feel overly busy in a compact family bathroom. Precision installation also matters: consistent spacing, straight set-outs and clean grout finishing are what allow a pattern to look intentional rather than improvised.
How to choose a bathroom tile pattern
Start with the room’s strongest feature. In some bathrooms, this is a walk-in shower wall; in others, it may be a freestanding bath or a timber-look vanity. Choose one area to carry the stronger pattern and let surrounding surfaces provide balance. Pattern on every wall and the floor can work in a large, well-lit space, but it often makes a smaller room feel crowded.
Tile size changes the result as much as the layout itself. Large-format tiles reduce grout lines and can make a bathroom feel calmer and more expansive. Smaller tiles bring texture and are especially useful on shower floors, where extra grout joints can improve underfoot grip. Always consider the tile’s slip rating for wet floors, rather than selecting solely on appearance.
Grout deserves the same level of planning. Matching grout gives a quieter, more continuous surface. A contrasting grout draws out the geometry of the tile, which can look striking but will make alignment errors far more noticeable. In showers, quality waterproofing, sound substrate preparation and properly finished grout joints are essential to the long-term performance of any pattern.
12 best bathroom tile patterns to consider
1. Straight lay for a clean, contemporary finish
Straight lay places square or rectangular tiles in a simple grid, with each joint aligned. It is a reliable choice for modern bathrooms because it looks crisp, works with almost any tile size and allows a feature material to take centre stage.
This pattern is particularly effective with large porcelain tiles, stone-look finishes and soft neutral colours. Its apparent simplicity demands precise set-out. Uneven cuts around a vanity or a visibly drifting grout line can disrupt the entire room.
2. Stacked vertical tiles to add height
Stacked vertical tiles, often used with slim subway tiles, lead the eye upward and give low-ceilinged bathrooms a taller appearance. They suit shower walls, splashback areas and the wall behind a vanity.
Choose a grout colour close to the tile for an elegant, elongated effect. For more definition, use a subtle contrast, but keep the rest of the bathroom restrained. This layout is ideal when you want a design-led feature without introducing a complex floor pattern.
3. Horizontal subway tiles for relaxed classic style
The traditional brick-style subway layout remains popular because it is familiar, versatile and easy to adapt across different interiors. Rectangular tiles are offset by half their length, creating a gentle rhythm that works well in heritage homes, coastal bathrooms and practical investment-property upgrades.
A half-offset pattern can be less suitable for some long rectified tiles, as slight tile bowing may become more visible. In those cases, a one-third offset or straight stack can produce a flatter, cleaner result.
4. Herringbone for a tailored feature wall
Herringbone uses rectangular tiles set at right angles to form a repeating zigzag. It creates movement without relying on bold colour, making it a strong choice for a shower niche wall, vanity backdrop or a full-height feature wall.
This is not a pattern to rush. It involves more cuts, more planning and greater installation time than a standard grid. The investment is worthwhile when the pattern is carefully centred and finished with balanced cuts at corners and edges.
5. Chevron for a more structured statement
Chevron has a similar directional feel to herringbone, but tiles meet at a continuous point to create a clean V shape. The look is more formal and architectural, particularly in marble-look or timber-look porcelain.
Chevron works best in a generous shower wall or on a dry bathroom floor where the pattern can be appreciated from a distance. In a tight space, it can feel overly energetic. Keep surrounding tile selections simple and avoid competing prints.
6. Basketweave for timeless character
Basketweave tiles create an interlaced effect, commonly with small rectangular pieces or mosaic sheets. They bring texture and traditional charm to federation-style renovations, powder rooms and character homes.
Because the pattern includes many joints, grout selection and maintenance need careful thought. A mid-tone grout can be more forgiving than bright white in busy family bathrooms, while quality sealing and regular cleaning help preserve the finish.
7. Hexagon tiles for shape and texture
Hexagon tiles offer a geometric alternative to square tiles and can range from tiny mosaics to large-format statement pieces. Small hexagons are a practical option for shower floors due to their additional grout lines, while larger hexagons make a confident feature on walls or open bathroom floors.
The key is proportion. Small hexagons may look fussy across every surface in a large room, and oversized shapes can overwhelm a narrow ensuite. Use the format where it has a clear purpose, such as defining a shower zone or framing a bath.
8. Penny rounds for detailed shower floors
Penny rounds are small circular mosaic tiles that bring a soft, tactile quality to a bathroom. They are commonly used on shower floors, where their dense grout grid provides useful traction and their smaller pieces can follow falls towards the drain.
They do require more grout care than large tiles. Choosing a stain-resistant grout and maintaining it properly will make a major difference to cleanliness and appearance over time.
9. Large-format tiles for calm visual flow
For a streamlined, low-maintenance look, large-format porcelain in a straight lay is hard to beat. Fewer grout joints mean less visual interruption and fewer areas that can collect soap residue or grime. This makes the pattern especially suited to contemporary bathrooms and commercial amenities.
Large tiles require a properly prepared substrate and careful levelling. They are also not automatically the safest choice for every wet floor, so confirm the slip rating and design the shower floor separately if needed.
10. Diagonal lay to broaden a compact room
Setting square tiles on a 45-degree angle can make a narrow bathroom appear wider because the eye follows the diagonal lines across the room. It is an effective technique for older bathrooms with limited floor area.
The trade-off is extra cutting along walls and more material wastage. It also needs a carefully centred set-out, otherwise small perimeter cuts can make the room look unbalanced.
11. Mixed-format layouts for a custom finish
Mixed-format designs combine different tile sizes from the same range, often in a repeating arrangement. They create a handcrafted, premium feel that suits Mediterranean-inspired, natural stone-look and high-end renovation projects.
This approach needs a detailed layout plan before installation begins. Random placement rarely looks refined. The most successful results use a consistent repeat, considered grout width and enough room for the pattern to read clearly.
12. Border and inset patterns for subtle definition
A border or inset can separate wet and dry zones, frame a feature wall or introduce a secondary colour without tiling the entire room in a busy design. Think of a mosaic strip in a shower niche, a contrasting tile rug beneath a vanity, or a fine border around a bath.
This option gives homeowners flexibility. It is easier to update a small feature area later than an entire patterned room, while still delivering a polished, custom appearance.
Make the pattern work with grout and installation
Even the best bathroom tile patterns rely on the details behind and between the tiles. Confirm the layout before work begins, including where full tiles will sit, where cuts will fall, and how the tile pattern meets drains, niches, windows and doorways. A good set-out avoids narrow slivers of tile and keeps feature lines centred where possible.
For shower renovations, do not treat new tiles or fresh grout as a substitute for addressing underlying moisture issues. Cracked grout, hollow tiles, persistent mould or water damage may point to a problem that needs professional assessment before cosmetic work begins. Durable results come from correct preparation, suitable materials and workmanship that respects the bathroom’s wet-area requirements.
A1 Grouting & Tiling approaches tile design with the same care given to performance: precise alignment, clean grout finishing and surfaces built to stay practical in daily use. Whether you prefer a quiet large-format layout or a detailed herringbone feature, the best result is a pattern that suits your room, your routine and the level of maintenance you are happy to maintain.
Choose a layout that still feels right when the towels, bathmat and daily life return to the room. That is where a well-planned tile pattern proves its value.