 10 years of water leakage warranty for Regrouting showers.

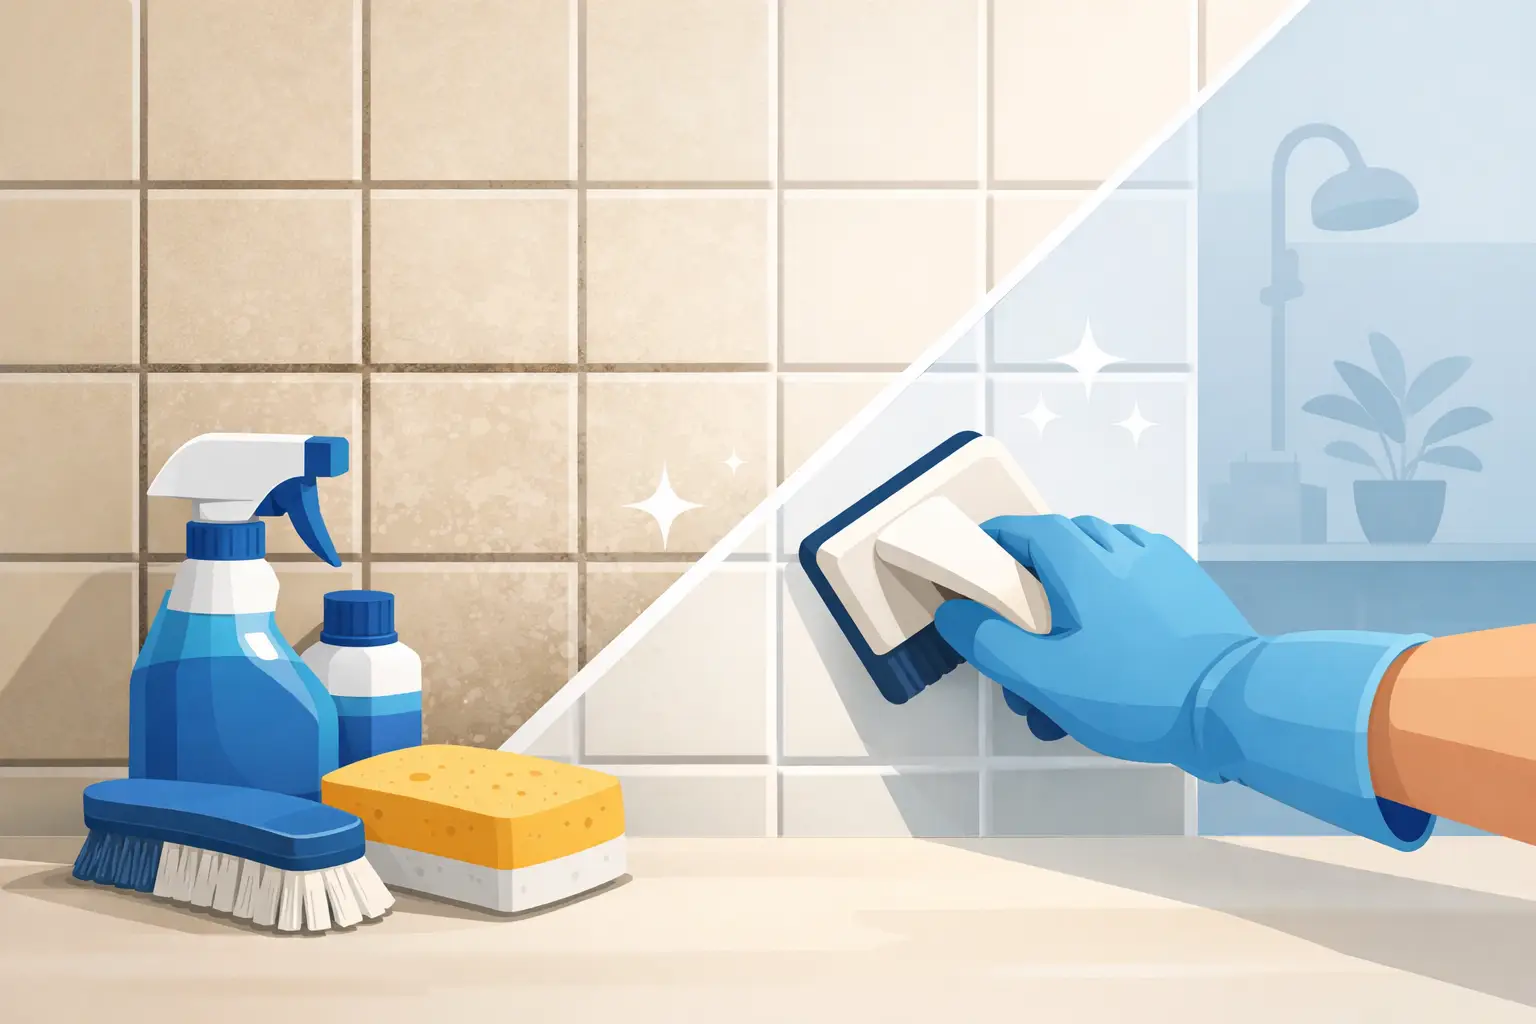
A tiled bathroom can be beautifully finished, yet still look tired when the grout lines turn grey, yellow, brown or patchy. Learning how to restore discoloured grout starts with identifying whether you are dealing with surface staining, mould, mineral build-up or grout that has simply reached the end of its serviceable life. The right solution protects the tile finish while restoring the clean, precise look that makes tiled spaces feel well maintained.
Why grout becomes discoloured
Grout is porous by nature. Even quality grout can absorb moisture, soap residue, cooking oils, dirt and minerals if it is not properly sealed or regularly maintained. In bathrooms, warm humidity creates the ideal conditions for mould and mildew. In kitchens, grease and food splashes can leave grout looking darker than the surrounding tiles. Floor grout collects fine dirt from shoes, pets and everyday traffic, particularly near entryways and in busy commercial areas.
Discolouration is not always the same problem. A white, chalky coating may be mineral residue or efflorescence. Black spotting in a shower is often mould. Yellowing can come from soap scum, body products or ageing sealant. Grout that is dark throughout, cracked or falling away may be damaged rather than merely dirty.
This distinction matters. Strong chemicals may improve a surface stain but will not repair weak, crumbling grout. Equally, applying a grout colourant over active mould or loose joints only hides the underlying issue for a short time.
How to restore discoloured grout safely
Start with the least aggressive method that is likely to work. This approach preserves the grout, avoids unnecessary damage to tile surfaces and gives you a clearer picture of the condition underneath the staining.
Begin with a thorough clean
Vacuum or sweep floor tiles first so loose grit does not scratch the surface during cleaning. In showers and splashbacks, rinse away loose residue with warm water. Apply a pH-neutral tile and grout cleaner suitable for the area, then allow it to sit for the recommended time. Avoid letting cleaning products dry on the tiles.
Agitate the grout lines with a stiff nylon grout brush, working in manageable sections. A toothbrush is usually too soft and too small for larger areas, while wire brushes can scratch glazed tiles and damage grout. Rinse thoroughly and dry the area with a clean cloth so you can assess the result accurately.
For general grime, this may be all that is needed. It is also the safest ongoing maintenance method for bathrooms, kitchens and tiled floors.
Treat mould and stubborn stains with care
Where mould is present, use a mould treatment designed for tiled wet areas and follow the manufacturer’s directions precisely. Ventilate the room, wear gloves and avoid splashing the product onto nearby painted surfaces, fabrics or natural stone.
Never mix cleaning chemicals. In particular, do not combine bleach with acidic products, ammonia or other cleaners. The result can produce dangerous fumes and damage the grout, tiles or surrounding finishes.
Acid-based cleaners can remove some mineral deposits, but they are not appropriate for every surface. They can etch natural stone, dull certain tiles and weaken cement-based grout when used too often or left on for too long. If you are unsure what tile has been installed, choose a pH-neutral product or seek specialist advice before using anything stronger.
Steam cleaning can assist with surface dirt in some tiled areas, but it is not a cure for failed grout or compromised shower joints. Excessive heat and moisture may also be unsuitable where grout is already cracked, tiles are loose or waterproofing concerns are present.
Know when cleaning is no longer enough
Clean grout should look consistent once it is dry. If staining remains embedded after suitable cleaning, or if the grout has become uneven and porous, restoration may require more than a cleaning product.
Look closely for these signs:
- Grout is cracked, missing, soft or powdery.
- Mould returns quickly after cleaning, especially in shower corners and wall-to-floor joints.
- Tiles sound hollow, move underfoot or show signs of moisture behind the surface.
- Silicone sealant is blackened, lifting or separating from the tile edges.
- The shower area has persistent musty odours, leaking concerns or water damage nearby.
In these situations, regrouting or targeted repairs are usually the more durable option. Removing failed grout allows new material to bond properly and creates a cleaner, more uniform finish. In showers, the work should be approached carefully because grout condition, silicone joints and waterproofing performance are closely connected.
A shower that continues to show mould around damaged joints is not simply a cosmetic concern. Moisture can travel behind tiles when grout, sealant or movement joints have failed. Prompt professional assessment can help prevent a small repair from becoming a more extensive renovation.
Regrouting versus grout colouring
Grout colourants and recolouring products can be effective when grout is structurally sound but permanently stained or uneven in colour. They are particularly useful for older tiled floors where the existing grout remains firm but no longer suits the room’s appearance. A quality colourant can refresh the lines and make the tile layout look sharper.
However, recolouring is not a substitute for repair. It should only be applied after the grout has been thoroughly cleaned, dried and checked for cracks or movement. If the grout is loose, deeply pitted or contaminated with mould, it needs to be removed and replaced first.
Regrouting is the better choice where grout has deteriorated, where shower joints need attention or where a long-lasting restoration is the priority. The process involves removing failed grout to an appropriate depth, preparing the joints, applying new grout evenly and finishing with the correct sealants where required. Precision is what separates a tidy repair from a patchy result. Consistent joint depth, clean tile edges and proper curing all influence the final appearance and durability.
Protect the restored finish with sealing and maintenance
Once grout has been cleaned or replaced, sealing can reduce the rate at which moisture and stains are absorbed. This is particularly valuable in showers, kitchen splashbacks, floors and balconies, where water and contaminants are more frequent. The grout must be fully cured and dry before sealant is applied, otherwise moisture may become trapped beneath the protective layer.
Sealers are not permanent and should be maintained according to the product and the level of use. A family shower or high-traffic commercial floor may need more frequent attention than a lightly used guest bathroom. Regular cleaning with a pH-neutral product will also help the sealant perform as intended.
Good everyday habits make a noticeable difference. Squeegee shower walls after use, keep exhaust fans running long enough to clear moisture, wipe cooking splashes promptly and use entrance mats on tiled floors. These small measures reduce the build-up that causes grout to discolour in the first place.
When professional grout restoration is the right investment
DIY cleaning is suitable for light surface staining and routine maintenance. Professional restoration is often the better investment when grout is widespreadly discoloured, damaged, mould-affected or part of a shower that requires dependable water protection. It is also a practical choice when a property needs to be presented at a high standard for sale, lease or commercial use.
A specialist can assess the tile type, grout condition, movement joints, silicone and moisture exposure before recommending cleaning, recolouring, regrouting or more extensive repairs. This avoids spending time and money on products that only mask the problem. It also delivers the visual consistency that gives a renovated bathroom, kitchen or floor its polished finish.
At A1 Grouting & Tiling, restoration work is approached as both a repair and a finish upgrade, with careful preparation and workmanship designed for long-term performance. For shower regrouting, a professional solution should provide clear confidence in the work completed, including appropriate warranty protection.
Fresh grout lines do more than brighten a room. They make tiles look intentional again, improve hygiene in the areas you use most and help protect the surfaces beneath. Address the cause of the discolouration, choose the repair method that matches the condition of the grout, and the result can feel like a genuine renewal rather than a temporary clean.