 10 years of water leakage warranty for Regrouting showers.

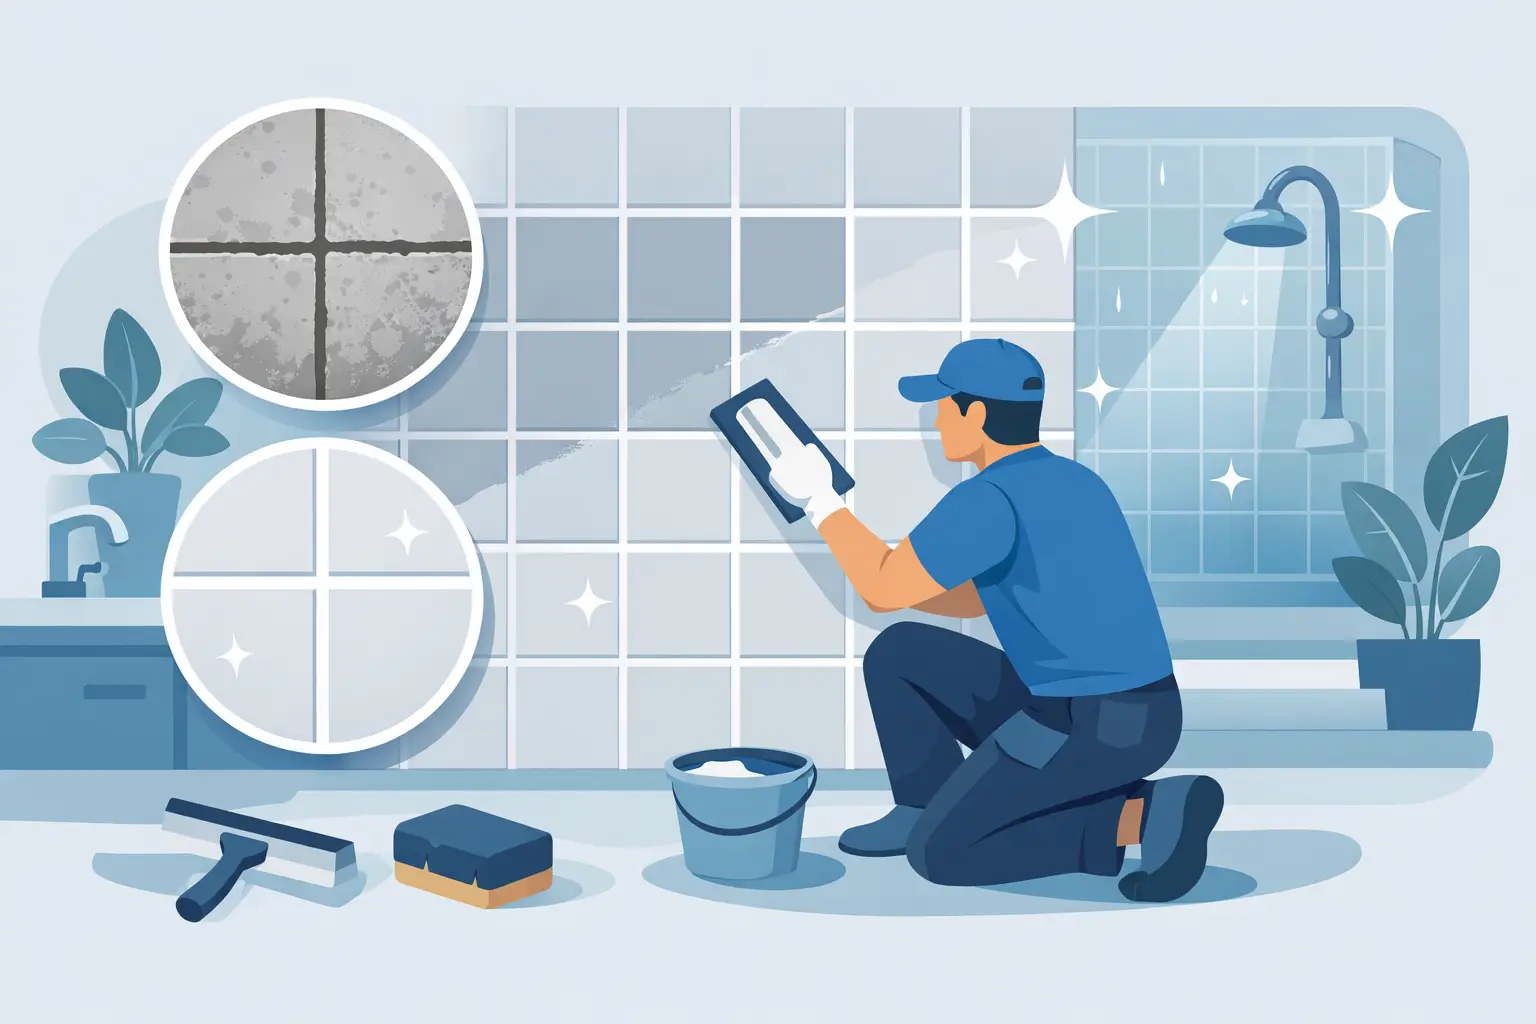
Grout rarely fails all at once. It starts with a fine crack at the shower edge, dark staining that returns soon after cleaning, or powdery joints beneath your feet. This grout restoration service guide helps homeowners, landlords and property managers recognise what those signs mean, what professional restoration involves, and when a repair is the smarter investment than a full retile.
Fresh, well-finished grout does more than improve the colour of a tiled room. It supports the tile edges, closes gaps where moisture and dirt collect, and gives bathrooms, kitchens and floors the clean, considered finish they were designed to have. The right solution depends on the condition of the joints, the substrate behind the tiles and the area’s exposure to water.
When grout restoration is the right service
Restoration is often the ideal option when the tiles themselves are sound but the grout has become stained, cracked, uneven or missing in places. Regrouting can transform a tired shower or floor without the disruption and cost of removing every tile. It is especially valuable in rental properties, pre-sale upgrades and commercial spaces where appearance and downtime both matter.
A professional inspection should look beyond surface discolouration. In a shower, recurring mould, loose grout and cracked silicone may indicate that water is reaching areas it should not. On a floor, hollow-sounding tiles, movement underfoot or multiple loose tiles can point to a substrate issue. Applying new grout over a failing base may make the surface look better briefly, but it will not correct the cause.
Restoration is generally suitable when tiles are securely bonded, the waterproofing system is performing as intended, and deterioration is largely confined to the joints or sealant. Full tile replacement becomes more sensible where there is widespread movement, water damage behind the wall, extensive cracked tiles or an outdated layout that no longer suits the room.
What a grout restoration service should include
Quality restoration is a preparation-led process. The visible grout lines are only the final result. A lasting finish depends on removing failed material correctly, treating the surface with care and selecting products suited to the space.
Assessment and a clear scope of work
The first stage is identifying whether the issue is cosmetic, functional or both. A specialist should assess tile adhesion, grout depth, movement joints, corners, shower bases, silicone condition and any evidence of moisture damage. This allows the work to be scoped accurately rather than offering a one-size-fits-all solution.
For instance, a kitchen splashback with stained grout may only need a detailed clean, colour restoration and resealing. A shower with deteriorated joints around the base and corners may require old grout removal, fresh regrouting and new sanitary-grade silicone to restore a hygienic, watertight finish.
Careful removal of damaged grout
Failed grout needs to be removed to an appropriate depth before new material is installed. Simply spreading fresh grout over the top of cracked or contaminated joints is not a durable repair. It can also leave uneven lines and create weak points that break down quickly.
Experienced tradespeople use controlled methods to protect tile edges and neighbouring surfaces. This matters with porcelain, natural stone, decorative mosaics and older tiles, where careless removal can cause chips that are harder to hide than the original grout problem.
Regrouting, sealing and detail work
Once joints are properly prepared, fresh grout is applied and finished with consistent depth, clean lines and a colour that complements the tile. Grout colour has a strong effect on the final look. Matching the tile can create a calm, continuous surface, while a contrasting shade can highlight a pattern or make a feature wall more defined.
Corners, wall-to-floor junctions and areas where different materials meet need flexible sealant rather than rigid grout. These parts of a tiled surface move slightly over time. The correct silicone joint allows for that movement and helps prevent cracking. In wet areas, this detail is essential for both appearance and water protection.
Depending on the grout type and location, sealing may be recommended after curing. A suitable sealer can help reduce the absorption of moisture and staining, particularly on porous cement-based grout. It is not a substitute for sound installation or regular cleaning, but it can make maintenance easier.
Shower regrouting needs more than a cosmetic fix
Bathrooms carry the highest stakes because water is present every day. Dark lines in a shower may be mould sitting on the surface, but they can also be a sign that grout and silicone are no longer doing their job. If water repeatedly enters gaps around the shower base, corners or fittings, damage can develop behind the tile surface.
Professional shower regrouting should begin with an honest assessment of the wet area. If the tiles are stable and there are no signs of a major waterproofing failure, restoration can be an efficient way to renew the shower. Old grout and silicone are removed, affected areas are cleaned and prepared, then new grout and flexible sealant are installed with close attention to edges, falls and fittings.
The trade-off is straightforward: regrouting renews the tiled finish and addresses failed joints, but it cannot repair a compromised waterproof membrane behind the tiles. Where leaks, swelling walls, persistent loose tiles or severe moisture damage are present, further remedial work may be needed. A dependable contractor will explain that distinction before work begins.
A1 Grouting & Tiling provides shower regrouting with a 10-year water leakage warranty, giving customers added confidence when their shower is suitable for restoration work and the correct repair process is followed.
Choosing grout colour and finish with purpose
Restoration is an opportunity to improve the room, not merely return it to its previous condition. Light grout can make a compact bathroom feel brighter, though it may show dirt more readily in high-traffic floor areas. Mid-grey and charcoal shades are practical choices for laundry floors, entries and commercial settings, where they can disguise everyday marks while still looking refined.
Large-format tiles benefit from crisp, even joints that reinforce their clean geometry. Patterned tiles and mosaics require more careful colour selection because grout can either frame the pattern or overwhelm it. In heritage-style bathrooms, a softer neutral may preserve character better than a stark modern contrast.
The finish must also suit how the room is used. A polished display area has different maintenance demands from a family bathroom or a café entry. A skilled tiling specialist can balance design intent with the practical realities of cleaning, moisture and foot traffic.
How to prepare for restoration work
Before the team arrives, remove toiletries, bath mats, movable furniture and personal items from the work zone. Clear access helps protect belongings and gives tradespeople space to complete detailed preparation. For shower work, plan around curing time and ask when the area can be used again. Returning water to fresh grout or silicone too early can affect the result.
During the quotation stage, ask what will be removed, how surfaces will be protected, whether silicone is included, and what preparation is required after the work is complete. You should also ask whether the quote allows for hidden damage if it is discovered. Clear answers make it easier to compare services on workmanship, not price alone.
The cheapest quote is not always the lowest-cost outcome. Inadequate preparation, poor grout removal or skipped sealing details can lead to repeat repairs, disruption and avoidable water damage. Precision work costs more than a superficial patch, but it delivers cleaner lines, stronger joints and better long-term value.
Keeping restored grout looking its best
Once restoration is complete, regular care will protect the finish. Ventilate bathrooms after showers, use a squeegee on glass and tiled walls where practical, and clean grout with a pH-neutral product suited to the tile and grout type. Harsh acids, bleach-heavy cleaners and abrasive pads can damage grout, dull tile finishes or degrade silicone over time.
Address a small crack or loose section early rather than waiting for widespread failure. In wet areas, inspect silicone at corners, around screens and near plumbing penetrations as part of routine home maintenance. For commercial properties, a planned cleaning and inspection schedule helps keep high-use bathrooms and floors presentable without allowing minor defects to become larger repairs.
A well-restored grout line should look deliberate: even in colour, neatly finished and appropriate to the room around it. Choose a specialist who treats the detail behind the tiles with the same care as the finish you see every day, and your surfaces will be easier to maintain, more hygienic and far more enjoyable to use.