 10 years of water leakage warranty for Regrouting showers.

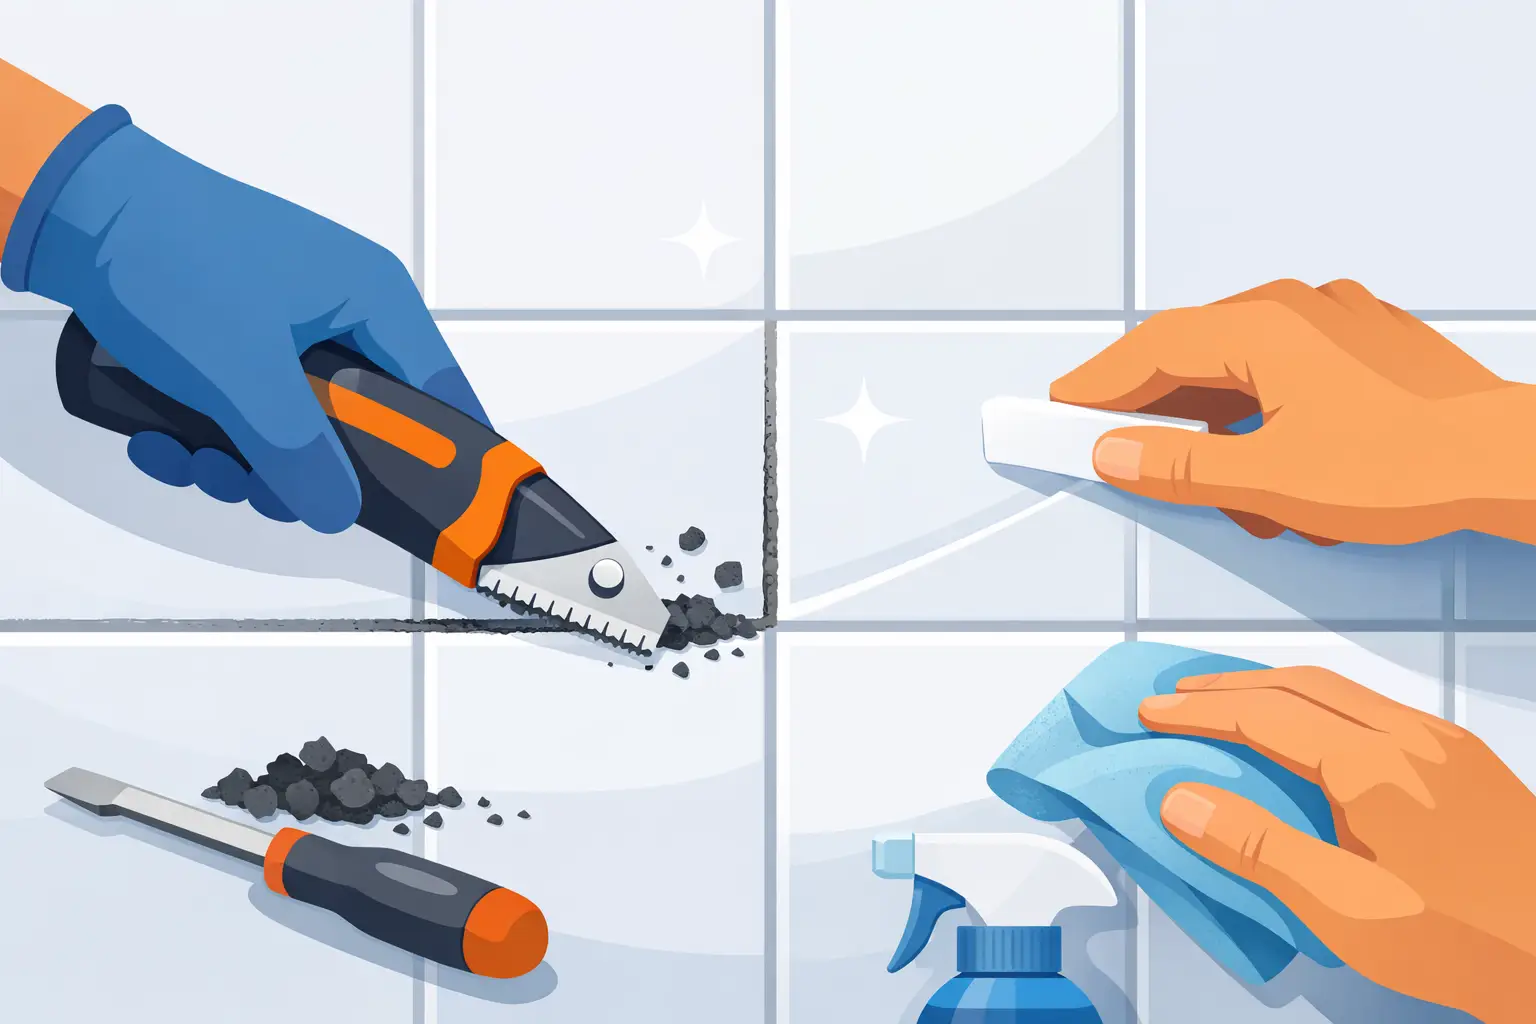
A shower can be freshly cleaned and still look tired when the grout is cracked, stained or pulling away from the tile edges. Knowing how to remove old grout properly is the first step towards a cleaner surface, stronger tile joints and a finish that looks intentionally renewed rather than patched over.
Grout removal is detailed work. Done carefully, it creates a sound, clean joint for new grout to bond to. Rushed with the wrong tool, it can chip tile edges, damage waterproofing or leave weak remnants behind that shorten the life of the repair. The method you choose should suit the location, tile type and condition of the existing grout.
When old grout should be removed
Not every discoloured grout line needs to be cut out. Surface staining can sometimes be improved with professional cleaning or colour sealing, particularly where the grout remains hard, intact and firmly bonded. Removal becomes the better option when grout is cracked, crumbling, missing in sections or separating from the tiles.
In showers, deteriorated grout deserves particular attention. Persistent mould, movement cracks and soft joints may allow moisture to travel behind the tiled surface. Grout is not the waterproofing layer on its own, but failed grout can expose broader issues and make a shower harder to keep hygienic.
Floor grout often fails for a different reason. Heavy foot traffic, substrate movement and harsh cleaning chemicals can wear down joints over time. In kitchens, balconies and commercial areas, damaged grout can collect dirt and make an otherwise well-laid tiled surface appear neglected.
Tools for removing old grout safely
The right tool is determined by the size of the job and the type of tile. A manual grout saw is a practical choice for a small repair or a few isolated joints. It gives excellent control and reduces the risk of cutting too deeply, although it is slower and requires patience.
For larger areas, an oscillating multi-tool fitted with a grout-removal blade can reduce labour considerably. Used with a light touch, it removes the centre of the joint efficiently. It should never be forced into corners or pushed hard against tile edges, where vibration and pressure can cause chips.
An electric grout rake or rotary tool can also be effective, but these require a steadier hand and careful speed control. They are generally better suited to experienced operators, especially on wall tiles, narrow joints, porcelain surfaces or older tile installations where the surrounding materials may be more fragile.
Before starting, have a vacuum with a narrow nozzle, safety glasses, a P2 dust mask, hearing protection and good lighting on hand. Grout dust is fine and abrasive, and it is easier to work accurately when debris is cleared from the joint as you go.
How to remove old grout step by step
1. Inspect the tiled area first
Start by checking whether the tiles themselves are secure. Tap lightly across the surface and look for movement, hollow sounds, loose tiles, cracked corners or gaps at wall and floor junctions. Removing grout from tiles that are already loose can make the problem worse.
Also identify where grout should stop and flexible sealant should begin. Changes of plane, such as wall-to-floor joints, internal shower corners and areas around fixtures, are usually movement joints. These should generally be sealed with a suitable sanitary-grade silicone rather than rigid grout.
2. Protect fittings and surrounding surfaces
Remove shower shelves, loose accessories and any items that will obstruct access. Cover drains to prevent dust and broken grout from entering the plumbing. Protect chrome tapware, glass and delicate stone with suitable masking and coverings.
If you are working in a bathroom, make sure the room is well ventilated. Dust can settle quickly in a confined space, so keep doors closed to adjoining rooms where possible and vacuum progressively rather than waiting until the end.
3. Cut through the centre of each grout line
The safest approach is to remove the middle of the grout joint first. Hold the manual saw or power tool straight and work in controlled passes along the length of the joint. Avoid angling the blade towards either tile edge.
Once the centre is cleared, carefully work outwards to remove the remaining grout. The aim is not to create an oversized gap. You want a clean, consistent joint that allows new grout to sit at the correct depth and width.
For a full regrout, remove most of the old grout from the joint, ideally to a depth that gives the replacement grout adequate mechanical grip. The exact depth depends on the joint size and product used, but shallow removal is a common reason new grout cracks or releases prematurely.
4. Take extra care around corners and tile edges
Corners, narrow cuts and tiles with textured or glazed edges need slower, more deliberate work. Do not use a power tool right into an internal corner. Finish these tight sections with a hand tool to avoid damaging the tile glaze or cutting into the wall junction.
Natural stone, handmade tiles and some older ceramic tiles can be particularly vulnerable. Their edges may be softer, uneven or more porous than modern porcelain. In these cases, a slower manual method is often the better trade-off for protecting the finish.
5. Remove dust and loose material completely
Vacuum each joint thoroughly, then wipe the tiled surface with a clean, damp cloth. Any powder, fragments or soap residue left in the joint can interfere with the bond of the fresh grout.
Allow the area to dry fully before regrouting. This matters especially in showers, where moisture can remain in joints and behind fittings long after the surface looks dry. A clean, dry joint gives the new grout the best chance of curing evenly and performing as intended.
Common mistakes that lead to poor results
The most common mistake is treating grout removal as a fast demolition job. Excessive pressure can chip tiles, widen joints unevenly and create a repair that is more noticeable than the original problem. It can also damage the substrate beneath the tiles, particularly in a shower where waterproofing systems are critical.
Another issue is regrouting over old, loose material. New grout needs a stable base. If degraded grout remains at the bottom or sides of the joint, the replacement layer may look fine initially but crack, stain or detach sooner than it should.
Using grout in movement joints is another avoidable error. Grout is rigid. Wall corners, floor transitions and junctions around baths and shower trays move slightly over time. Flexible silicone is designed to accommodate that movement while keeping the joint clean and sealed.
Finally, avoid using acid cleaners to compensate for incomplete removal. Acids can damage grout, affect some tile finishes and etch natural stone. Mechanical removal, followed by careful cleaning, is the more dependable preparation method.
When to call a grout specialist
A small section of loose grout in a splashback may be manageable for a confident DIY homeowner. A full shower regrout is more demanding. It involves close work around tapware, corners, drains, glass screens and waterproofed areas, where a single mistake can lead to unnecessary repair costs.
Professional removal is also worth considering when tiles are expensive, the grout lines are very narrow, mould keeps returning, or there are signs of water damage beyond the surface. An experienced tiler can assess whether the issue is limited to the grout or whether loose tiles, failed silicone, drainage problems or underlying movement need attention first.
For homeowners and property managers who want a polished result without the mess and risk of DIY removal, A1 Grouting & Tiling provides precise regrouting and tile repair work designed for clean, durable finishes. For shower regrouting, workmanship and water-leakage protection should be part of the conversation, not an afterthought.
Fresh grout changes more than the colour of a tiled area. When joints are properly prepared, accurately filled and finished with the right movement sealants, the whole surface looks sharper, feels cleaner and is better prepared for years of everyday use.