 10 years of water leakage warranty for Regrouting showers.

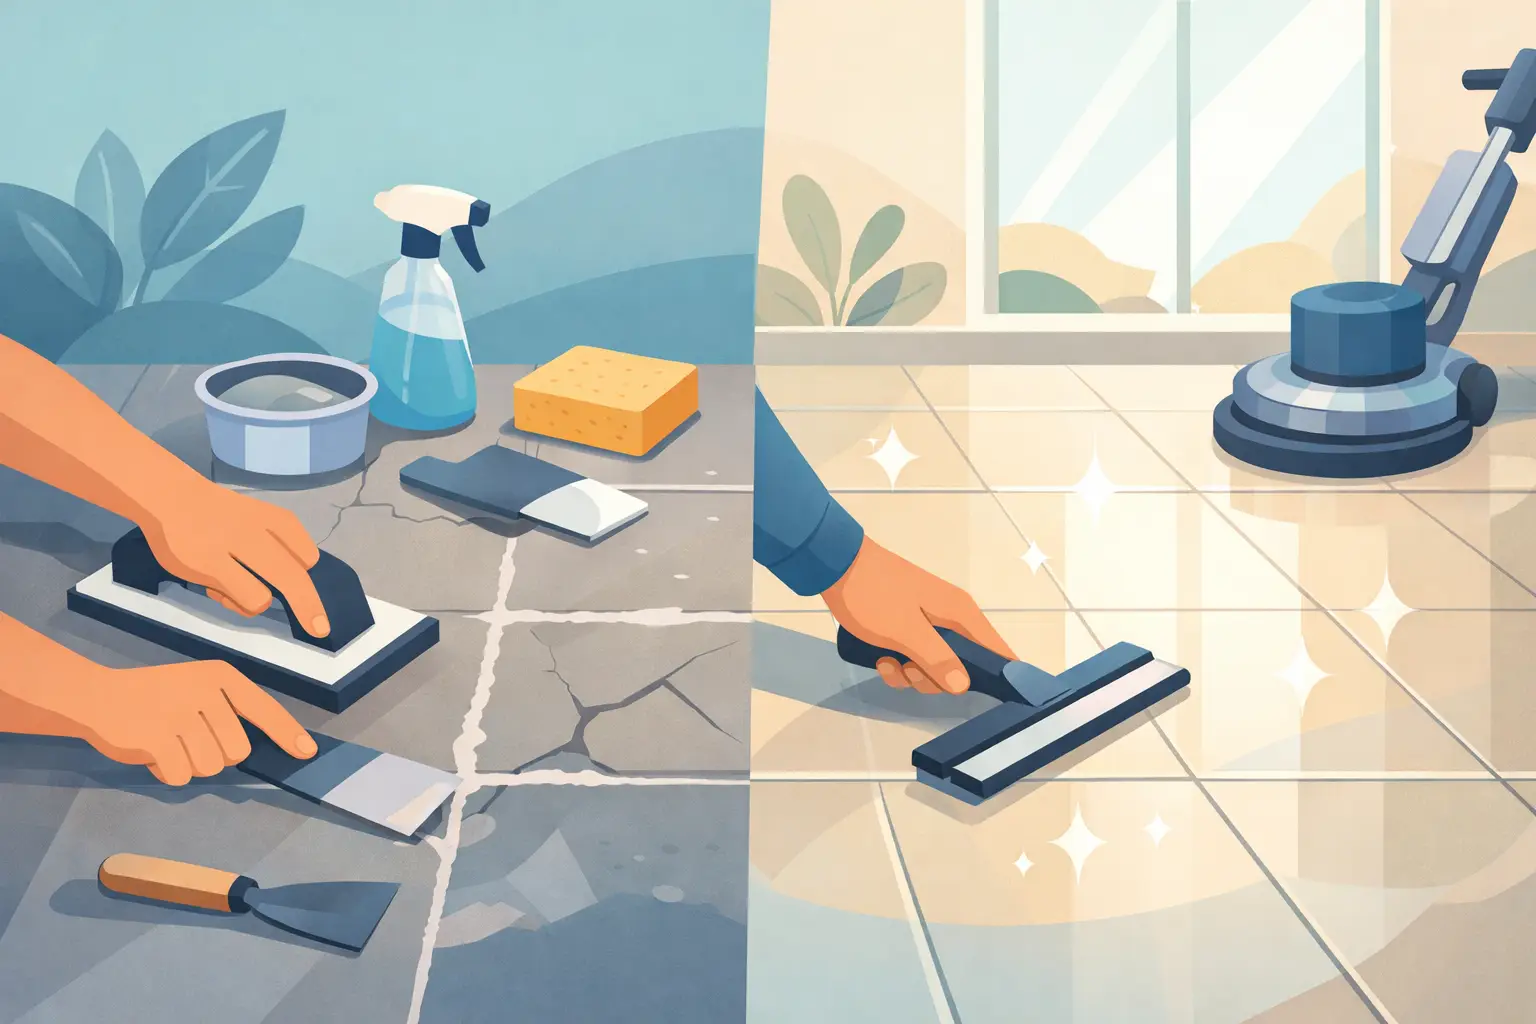
A tiled floor can look tired long before it has reached the end of its service life. Dull surfaces, stained grout, loose tiles and chipped edges often make a bathroom, kitchen, entry or commercial area feel less clean and less cared for. This floor tile restoration guide explains how to identify the real cause of the problem, choose the right repair approach and protect the finished result for years to come.
Restoration is not simply a matter of applying a stronger cleaner. A quality result depends on the condition of the tile, grout bed, adhesive and substrate beneath it. The right work can transform the appearance of a floor while improving hygiene, safety and long-term durability. The wrong shortcut can leave stains untouched, damage the tile surface or hide moisture issues that soon return.
Start With a Proper Floor Tile Assessment
Before choosing products or repairs, inspect the floor closely in good natural light. Look beyond the surface dirt. Grout that has changed colour evenly may only need professional deep cleaning, while isolated dark patches can point to absorbed staining, mould growth or moisture movement. Hairline cracks may be cosmetic, but cracked grout around several tiles can indicate movement below the floor.
Tap suspect tiles gently with the handle of a screwdriver or another non-metal tool. A hollow sound can suggest that adhesive coverage has failed beneath the tile. It does not always mean immediate replacement is required, but a loose tile should not be ignored. Foot traffic and moisture can turn a minor issue into a cracked tile or damaged substrate.
In wet areas, pay close attention to perimeter joints, shower entries and areas around toilets or vanities. Soft flooring, recurring mould, persistent musty odours or grout that keeps cracking can signal a waterproofing concern. Surface restoration alone is not the right solution when water is getting beneath the tiled finish.
Know What Your Tiles Are Made Of
The cleaning and restoration method should suit the material. Porcelain is dense and generally highly stain-resistant, making it one of the more forgiving choices for busy floors. Ceramic tile can be durable too, although some glazed finishes are more prone to scratching or etching from unsuitable cleaners.
Natural stone requires more care. Marble, limestone, travertine and terrazzo can react badly to acidic cleaners, including products marketed for bathroom scale removal. These materials may need specialist cleaning, honing, polishing or sealing rather than an aggressive scrub. Textured and slip-resistant tiles also need a different approach because dirt settles into their surface profile.
Clean First, Then Judge the Finish
Many floors appear beyond saving because grime has built up in the pores of grout and the fine texture of tile. Begin by removing loose dust and grit with a vacuum or soft broom. Grit left on the floor can scratch the surface while scrubbing.
Use a pH-neutral cleaner appropriate for the tile type, allowing it enough dwell time to loosen soil before agitation. A stiff nylon grout brush can help lift embedded dirt from joints, while a soft deck brush or scrubbing pad is better for larger tiled areas. Avoid steel wool and overly abrasive pads, especially on gloss tiles, polished porcelain and natural stone.
Rinse thoroughly and extract dirty water rather than spreading it across the floor. This is where professional equipment can make a visible difference. High-pressure cleaning and extraction, when used correctly, remove contamination from grout lines and textured tiles without leaving behind a cloudy residue.
Once dry, reassess the floor. Cleaning may restore much of the original colour, but it will not repair worn grout, chips, deep stains or failed adhesive. A clear assessment after cleaning prevents unnecessary work and helps achieve a consistent finish.
Repair Grout Before It Fails Further
Grout does more than frame the tiles. It supports edges, closes gaps where dirt collects and contributes to the overall appearance of the floor. Crumbly, recessed or cracked grout should be removed to a sound depth before new grout is installed. Smearing fresh grout over weak joints is rarely durable and often creates an uneven patchwork result.
Colour matching matters. New grout can look noticeably brighter than older joints, particularly in large open spaces. In some cases, selective repair is practical. In others, full regrouting provides the cleaner, more uniform finish the room needs. The best option depends on the extent of damage, the availability of a matching grout and the standard expected for the property.
Flexible sealant, not grout, belongs at movement joints. This includes changes of plane, perimeter edges and locations where the tiled floor meets another material. These joints allow for normal expansion and movement. Filling them with rigid grout often leads to repeated cracking.
For bathrooms and commercial washrooms, hygiene is part of the restoration decision. Grout that remains stained after deep cleaning may benefit from colour sealing or replacement, depending on its condition. A properly prepared colour seal can create a consistent appearance and make ongoing cleaning easier, but it is not a substitute for repairing loose or deteriorated grout first.
Replace Damaged or Loose Tiles With Precision
A chipped tile near a wall may be a minor visual issue. A cracked or loose tile in a high-traffic path is different. It can create a trip risk, allow moisture beneath the floor and place pressure on surrounding tiles.
Replacing one tile successfully requires more than finding a close colour match. The replacement must align with surrounding joints, sit level with adjacent tiles and be bonded to a properly prepared base. Old adhesive needs to be removed carefully without disturbing neighbouring tiles. If the substrate is uneven, damp or cracked, that issue must be addressed before the new tile is laid.
Spare tiles from the original installation are ideal. If none are available, a specialist can often source a close match or reclaim a tile from a concealed location, such as inside a cupboard, depending on the layout. In older properties, an exact match may no longer exist. A considered repair can still look intentional when size, finish and grout colour are selected carefully.
Seal Only When the Surface Needs It
Sealing is often misunderstood. Most glazed ceramic and porcelain tiles do not require a topical sealer, although cement-based grout commonly benefits from protection once fully cured. Natural stone and unglazed tiles may also require a penetrating sealer to help resist stains and moisture absorption.
The wrong sealer can leave a patchy sheen, trap residue or make a floor more slippery. It can also fail quickly if it is applied over soap film, moisture or poorly cleaned grout. For this reason, preparation is as important as the product itself. A sealer should enhance protection without changing the intended character of the tile.
In commercial settings, consider cleaning routines before specifying a finish. A busy foyer, café or amenities area may need a restoration approach that balances appearance with slip resistance, downtime and ease of maintenance. The most polished-looking finish is not always the best choice if it creates extra risk in wet conditions.
A Floor Tile Restoration Guide to Ongoing Care
A restored floor stays attractive when cleaning is regular and appropriate. Sweep or vacuum grit frequently, particularly near entrances. Use a pH-neutral cleaner in the correct dilution and avoid leaving detergent on the floor. Excess product attracts dirt and can make tiles look dull even when they are clean.
Attend to spills promptly, especially on natural stone and light-coloured grout. Check flexible joints and grout lines every few months for early signs of cracking, discolouration or separation. Small repairs completed early are usually cleaner, faster and more cost-effective than waiting for tiles to loosen or water damage to develop.
Avoid harsh acids, bleach-heavy treatments and DIY coating products unless they are confirmed as suitable for the specific tile. These may offer a short-lived improvement while weakening grout, affecting stone or creating a residue that is difficult to remove. If a floor has recurring stains, hollow tiles or signs of moisture, a professional inspection is the sensible next step.
A carefully restored tiled floor should feel as good as it looks: clean underfoot, level, secure and easy to maintain. For homes, rental properties and commercial interiors, precision restoration protects the original investment while giving the whole space a more refined finish. A1 Grouting & Tiling approaches every repair with that balance in mind – durable workmanship, clean detailing and a result built to last.