 10 years of water leakage warranty for Regrouting showers.


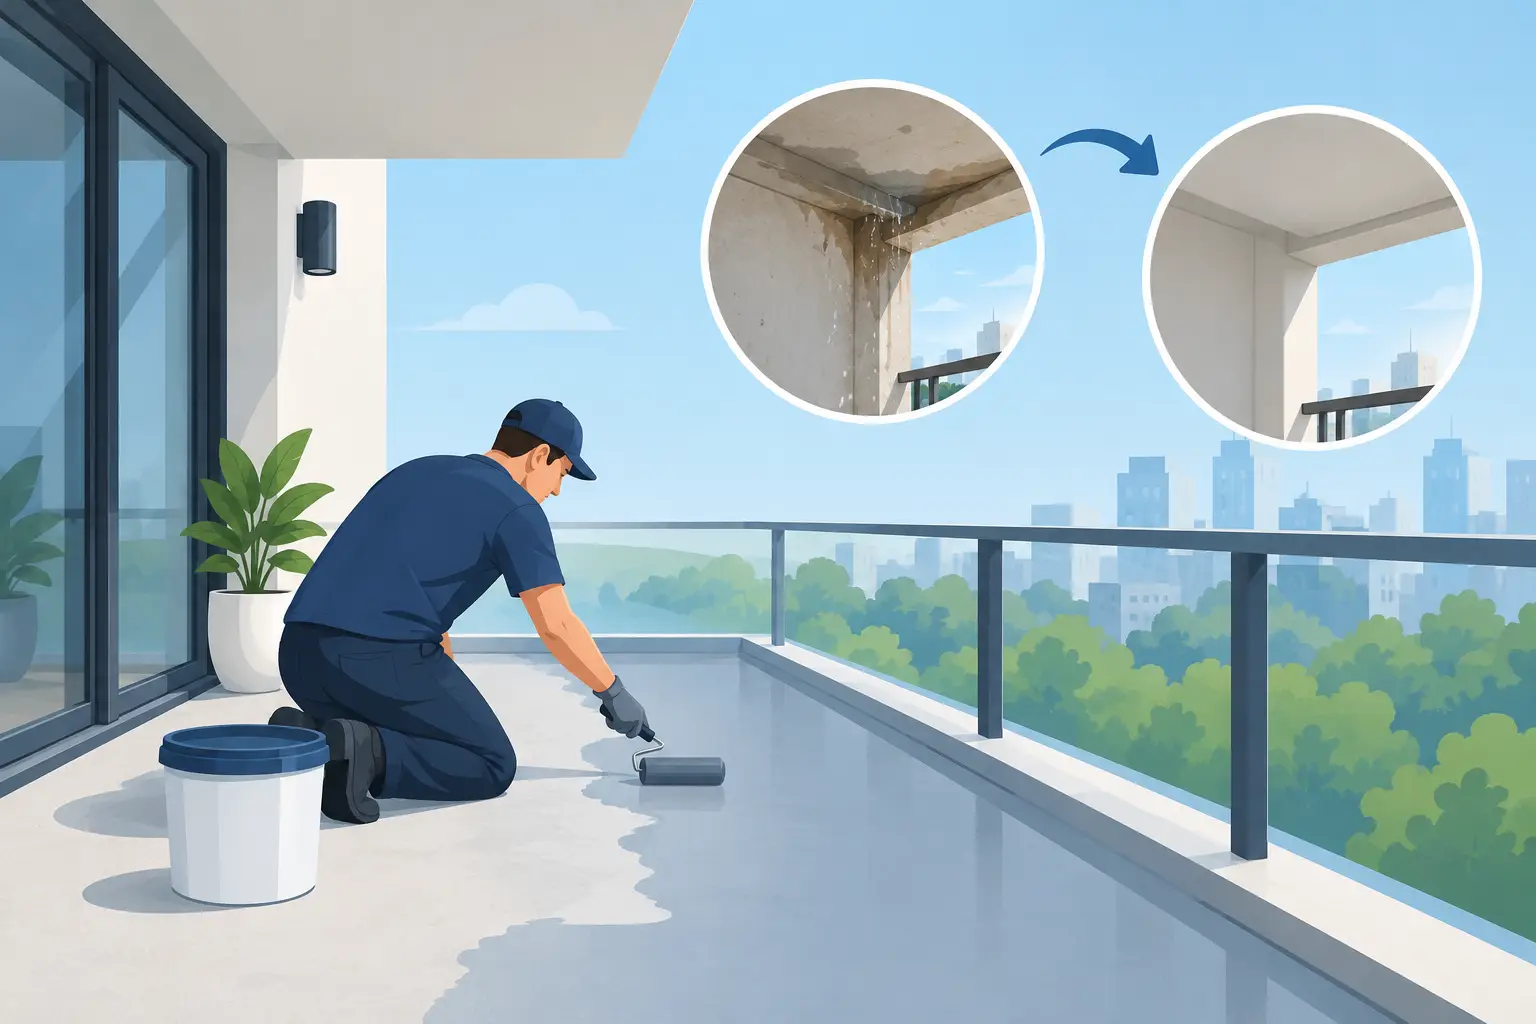
A damp mark appearing on the ceiling below a tiled balcony is rarely just a cosmetic issue. In this balcony leak repair case study, a small stain beneath an upstairs outdoor area led to the discovery of failed grout joints, cracked tile bedding and a compromised waterproofing system. The repair required more than fresh grout. It required a careful rebuild that restored both the balcony’s protection and its finish.
For homeowners, landlords and property managers, this is the distinction that matters. A balcony can look tidy on the surface while allowing water to travel beneath the tiles, into the slab or adjoining walls. The right repair identifies the path of water first, then delivers a durable, well-aligned tiled surface built to handle the weather.
The original problem: water where it should not be
This representative project involved a first-floor tiled balcony above an internal living area. The occupants had noticed a faint brown mark on the ceiling after periods of heavy rain. At first, the mark dried out and seemed easy to dismiss. Over several months, however, it returned more quickly and spread along the plasterboard joint.
The balcony itself showed several warning signs: grout had cracked along high-movement areas, a few tiles sounded hollow when tapped, and the joint where the balcony met the external wall had hardened and separated. Water was no longer being directed safely across the finished surface and into the drainage point. It was finding gaps, pooling below the tiles and migrating into the structure.
This is a common issue with ageing balconies, particularly where a previous repair has focused on surface grout alone. Grout is an important part of the finished tile system, but it is not the waterproofing layer. If the membrane beneath has failed, or if movement joints are missing or deteriorated, regrouting alone may improve the appearance without stopping the leak.
Balcony leak repair case study: finding the true failure
Before any tile removal began, the balcony was assessed to establish where water was entering and how far the damage had travelled. The inspection considered the condition of the tile joints, perimeter sealant, drainage outlet, falls, wall junctions and adjoining internal ceiling.
Several factors were working together. Cracked grout had opened pathways for water, but the primary concern was the failed waterproofing beneath the tiled finish. The tile bed near the doorway was retaining moisture, and the perimeter junction had no effective flexible seal. There was also insufficient fall in a small area near the wall, allowing water to sit instead of draining freely.
This stage is where precision saves money in the long term. Removing only a handful of loose tiles may be appropriate when the waterproofing remains intact and the issue is isolated. In this case, the evidence pointed to a broader failure. A partial patch would have left old, unreliable membrane connected to new work, creating an unnecessary risk of recurring leaks.
The decision was made to remove the tiled surface across the affected balcony area, repair the substrate, install a new compliant waterproofing system and retile with careful attention to drainage and movement.
Removing the damaged layers without creating further issues
Balcony repairs can be disruptive, but a controlled process protects the surrounding property. The team removed the existing tiles and adhesive methodically, avoiding unnecessary damage to the substrate and keeping the work area clean and contained.
Once exposed, the extent of the moisture damage became clearer. The substrate had minor cracking and uneven sections that needed preparation before waterproofing could begin. Any loose material was removed, the surface was cleaned thoroughly, and repairs were completed to create a stable base.
This preparation is not the glamorous part of a balcony transformation, but it determines the quality of everything that follows. Waterproofing membranes need a sound, clean and properly prepared substrate to bond correctly. Applying a membrane over dust, loose material or unaddressed cracking can undermine the repair before the new tiles are even laid.
The balcony was then checked for correct falls. Water must move towards drainage points rather than settle against walls, door thresholds or tile edges. Where necessary, the surface was corrected so the finished balcony would shed water effectively in normal rainfall.
Rebuilding the waterproof barrier
The new waterproofing system was installed across the balcony surface and turned up at vertical junctions, including wall interfaces and the doorway area. These junctions deserve particular attention because they are frequent points of water entry. A balcony membrane is not simply painted onto the floor. It must form a continuous barrier around changes in plane, corners and penetrations.
Adequate curing time was allowed before tiling commenced. Rushing this stage can affect membrane performance and compromise adhesion. The exact curing period depends on the products used, weather conditions and site requirements, so it should always follow the manufacturer’s specifications.
Movement joints were also planned into the new tiled surface. Outdoor balconies expand and contract with heat, rain and seasonal temperature changes. Without flexible joints at the perimeter and other appropriate locations, pressure can transfer into the grout and tiles, leading to cracking, lifting or water ingress over time.
The repair was designed around performance first, but visual quality was never treated as an afterthought. A waterproof balcony should also look considered, clean and consistent with the home’s exterior.
Retiling for drainage, durability and finish quality
For the replacement tile selection, the priority was an exterior-appropriate finish with practical slip resistance and a look suited to the property. Tile choice depends on the balcony’s exposure, size, style and intended use. A heavily weather-exposed entertaining area may call for a different tile surface than a sheltered apartment balcony.
Tiles were laid with consistent spacing and aligned carefully from the most visible edges. This ensured clean lines at the doorway, wall junctions and drainage point, where poor cuts or uneven alignment can quickly detract from an otherwise quality repair.
An adhesive suitable for the tile type and exterior conditions was used, followed by grout selected for durability and appearance. Flexible sealant was installed at movement joints rather than rigid grout. This detail helps the system accommodate natural building movement while maintaining a neat finish.
The drainage outlet was kept clear and the surrounding tile cuts were finished precisely, allowing water to flow without creating awkward low points. It is one of those details that may not draw attention when done well, yet it has a direct impact on how the balcony performs in wet weather.
The result: protection beneath a polished surface
After the repair, the balcony presented as a refreshed outdoor space rather than a patched problem area. The new tiled surface had clean lines, controlled falls and properly finished perimeter joints. More importantly, the waterproofing beneath it provided the protection the original installation had lost.
The internal ceiling could then be allowed to dry fully before cosmetic repair and repainting. This sequence matters. Repairing the ceiling before the water source is resolved can lead to repeated damage and unnecessary expense.
For A1 Grouting & Tiling, this is the standard that matters in every corrective project: identify the cause, prepare the surface properly, and complete the finish with the same care given to the protection beneath it. A balcony should add value to a property, not create uncertainty each time rain arrives.
When regrouting may be enough – and when it is not
Not every balcony leak requires full tile removal and replacement. If testing and inspection confirm that the waterproofing membrane is sound, isolated cracked grout or failed perimeter sealant may be repaired with targeted regrouting and resealing. This can be a practical, cost-effective option where the tiled system is otherwise stable.
However, signs such as recurring interior water marks, loose or hollow tiles, widespread cracking, persistent efflorescence, water pooling, or deterioration at door and wall junctions warrant a more thorough investigation. Covering these symptoms with new grout may delay the visible problem, but it will not restore a failed membrane.
The trade-off is straightforward. A limited repair can cost less upfront when the issue is genuinely localised. A full balcony rebuild involves more work, but may offer better value when water has already travelled beneath the tiled surface or the waterproof layer has reached the end of its serviceable life.
A better starting point for balcony repairs
If a balcony shows signs of leaking, avoid waiting for the next heavy downpour to confirm the concern. Early assessment can limit damage to ceilings, walls, framing and finishes below. It also gives you a clearer choice between a focused repair and a full waterproofing and tiling solution.
The best result is not simply a balcony that looks new on completion. It is one with sound preparation, reliable drainage, quality waterproofing and a flawless tiled finish that lets you enjoy the space with confidence.