 10 years of water leakage warranty for Regrouting showers.

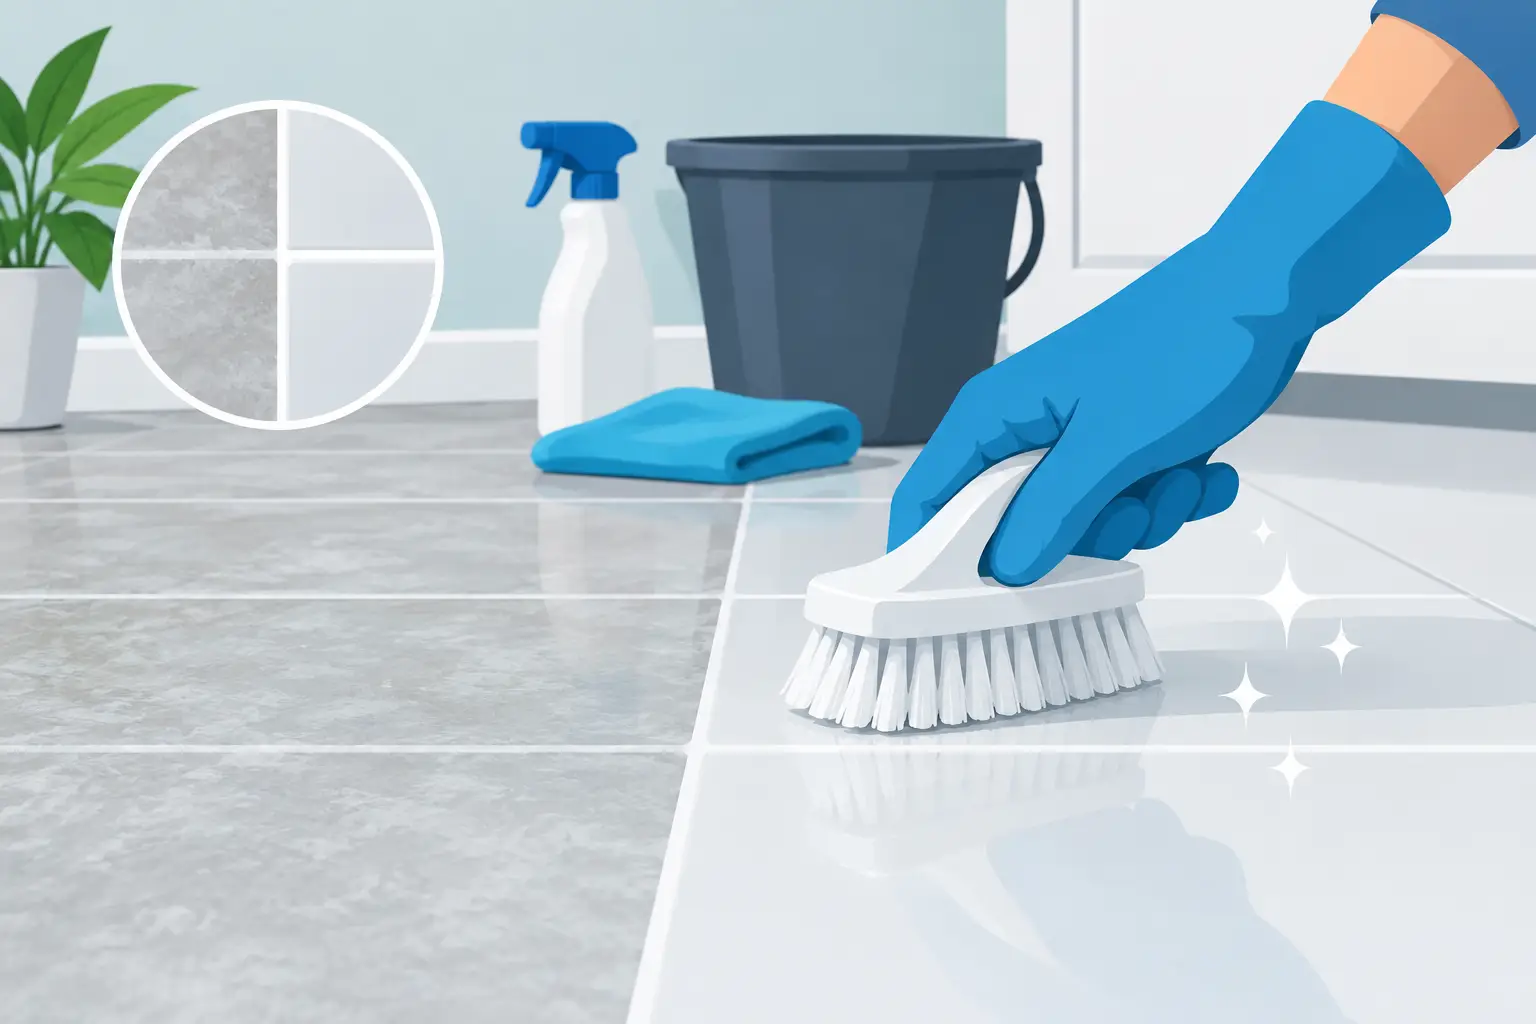
A new tiled surface can look disappointing when a pale, chalky film dulls the finish and catches the light from every angle. Knowing how to clean grout haze properly makes the difference between tiles that look freshly installed and tiles that appear permanently dusty. The key is to act with the right method for the grout and tile involved, rather than reaching straight for the strongest cleaner in the cupboard.
Grout haze is common after new tiling, regrouting or repairs. It is usually removable, but rushed cleaning can scratch glazed surfaces, damage natural stone or weaken fresh grout joints. A careful approach protects both the appearance and long-term performance of your tiled area.
What grout haze is and why it forms
Grout haze is the fine residue left behind when grout is spread across tiles and not completely removed during the final wash. As the moisture evaporates, particles of cement, pigment and minerals can settle into a thin film over the tile face. It may look white or grey on darker tiles, while on pale tiles it often shows up as a dull, uneven sheen rather than an obvious powder.
A light haze is often caused by using too little clean water during the final wipe, leaving the grout too long before washing, or using a sponge that is overloaded with grout residue. Textured tiles, matte finishes and tiles with a slightly uneven surface can hold more residue than smooth glazed wall tiles.
Not every cloudy mark is grout haze. Hard-water deposits, soap scum, cleaning-product build-up and sealant residue can look similar. Grout haze usually appears immediately after grouting and sits consistently across the tiled surface. Identifying the residue first helps you choose a cleaning method that is effective without being unnecessarily aggressive.
How to clean grout haze safely
Start gently. If the grout was installed within the last day or two, check the product directions before introducing water or cleaner. Most cement-based grout needs enough time to firm up before a deeper clean. Cleaning too early can pull grout from the joints, create low spots and affect the crisp, finished lines that make a tiled area look professionally completed.
For a light haze on ceramic or porcelain tiles, begin with a dry microfibre cloth or soft, dry towel. Buff the surface in small sections, turning the cloth frequently. This can lift loose residue without adding moisture, and it is often all that is needed when haze has been caught early.
If dry buffing does not clear it, use a clean sponge dampened with warm water. The sponge should be wrung out thoroughly, not dripping. Wipe diagonally across the grout joints rather than along them, rinse the sponge often and change the water as soon as it turns cloudy. Working diagonally helps avoid dragging residue out of the joints and back onto the tile faces.
Allow the tiles to dry, then inspect them from different angles. A haze that is invisible when wet can reappear as the surface dries. Repeat the gentle wash once if required, using fresh water and a clean sponge each time. Several light passes are safer than one heavy-handed scrub.
When a grout haze remover is needed
More stubborn cement-based haze may need a purpose-made grout haze remover. These products are generally mild acidic cleaners designed to dissolve cement residue, but they are not suitable for every surface. Always read the label, test a small inconspicuous area first and follow the stated dilution and dwell time precisely.
Apply the cleaner only to a pre-wetted surface if the manufacturer directs it. Work in manageable sections, agitate lightly with a non-abrasive white nylon pad or soft brush, then rinse thoroughly with clean water. Do not let cleaner dry on the tiles. Residue left behind can create its own cloudy film and, in some cases, affect the finish.
Ventilate bathrooms and enclosed rooms well, wear gloves and keep cleaners away from painted finishes, metal trims and cabinetry unless the product confirms compatibility. Careful preparation is part of quality workmanship, especially in a newly renovated space where surrounding surfaces need just as much protection as the tiles.
Match the cleaner to the tile material
Ceramic and porcelain tiles are generally the most forgiving surfaces for haze removal, though polished porcelain can still be scratched by abrasive pads or gritty powders. A soft cloth, sponge and an appropriate haze remover are usually enough.
Natural stone requires a far more cautious approach. Marble, travertine, limestone and some terrazzo surfaces can etch when exposed to acidic products. That damage may appear as pale, dull patches that cannot simply be wiped away. For these materials, use a pH-neutral cleaner approved for natural stone, or seek specialist advice before attempting to remove stubborn residue.
Mosaic sheets may include glass, natural stone or mixed materials, each with different cleaning limits. Similarly, encaustic, handmade and unglazed tiles can be porous or delicate. The right solution depends on the exact tile and grout specification, which is why keeping product information from the installation is worthwhile.
Epoxy grout is another exception. Its haze is not cement-based and usually needs an epoxy-specific cleaner while the residue is still fresh. Once cured, epoxy haze can be extremely difficult to remove without specialist treatment. Do not assume a standard acid-based haze remover will work.
What not to use on grout haze
Avoid steel wool, razor blades, harsh scouring pads and abrasive powders. These can leave fine scratches that become obvious under bathroom lighting or across large floor areas. Scratches also make a surface harder to maintain because soap, dirt and mineral deposits can lodge in the damaged finish.
Vinegar is often suggested as a household shortcut, but it is not a reliable all-purpose answer. While its acidity may affect light cement haze on suitable ceramic or porcelain tiles, it can damage natural stone, weaken fresh grout and leave an uneven result if it is not rinsed thoroughly. Proprietary products used correctly are a more controlled choice when a stronger cleaner is genuinely required.
Do not flood the area with water, particularly around shower bases, timber-adjacent floors or unfinished edges. Excessive moisture can travel where it should not, and it does not improve the result. Use controlled amounts of water, clean it up promptly and allow the surface to dry fully.
A practical cleaning sequence for better results
For most standard ceramic and porcelain installations, a measured sequence delivers the cleanest finish:
- Let the grout cure for the period specified by its manufacturer.
- Buff away loose residue with a dry microfibre cloth.
- Wash lightly with clean water and a well-wrung sponge, rinsing frequently.
- Reassess once dry, then use a compatible haze remover only if residue remains.
- Rinse thoroughly and buff dry with a fresh microfibre cloth.
The final buff matters. It removes water marks and brings back the even tile finish that can be lost when residue is spread around rather than lifted away.
When professional help is the better option
A small patch of haze on a splashback is usually manageable. A widespread film across a large floor, a newly tiled shower, premium natural stone or textured feature tiles deserves greater care. The cost of an unsuitable cleaner or abrasive tool can outweigh the cost of having the surface assessed and treated correctly.
Professional tile and grout specialists can identify whether the issue is grout haze, mineral build-up, grout residue trapped in texture, failed sealing or a different surface contaminant. They can also clean with products appropriate to the tile type and restore the sharp, consistent presentation of grout lines without compromising surrounding finishes.
At A1 Grouting & Tiling, attention to the final clean is treated as part of the finish, not an afterthought. Well-maintained grout and clean tile faces support the hygiene, durability and polished appearance that make bathrooms, kitchens and commercial tiled areas feel complete.
If haze persists after a gentle clean, stop before escalating to stronger products. Protecting the tile surface is always the priority, and the right treatment will preserve the flawless finish your space was designed to achieve.