 10 years of water leakage warranty for Regrouting showers.

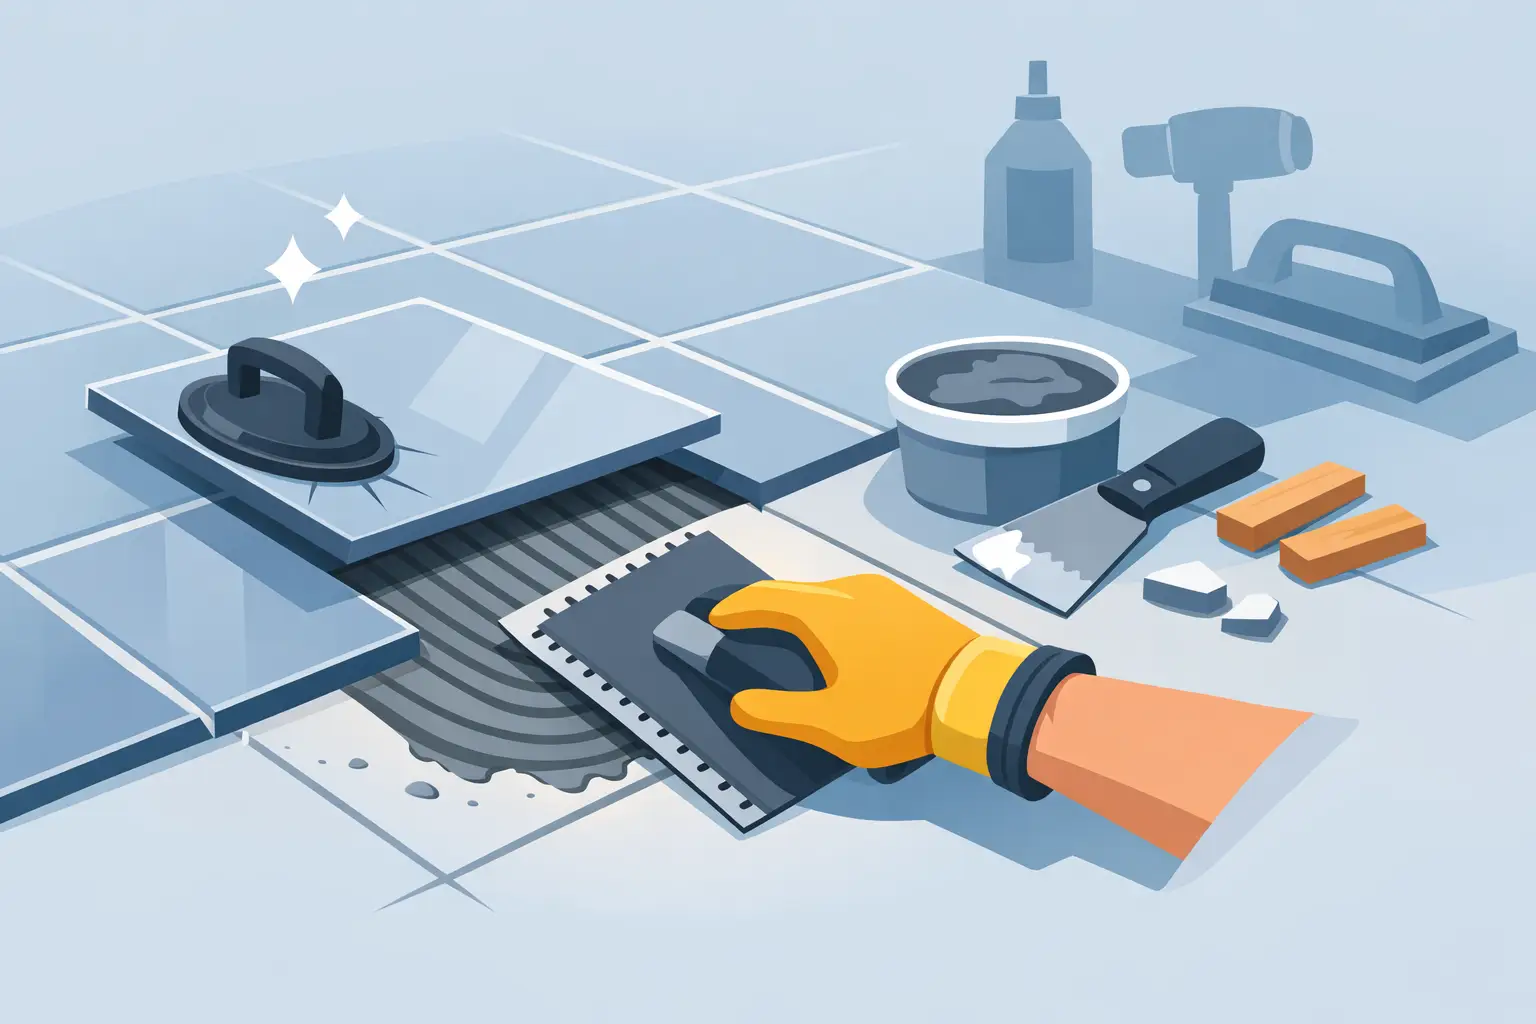
A tile that shifts underfoot or sounds hollow when tapped is rarely just a cosmetic issue. If you are wondering how to fix loose tiles, the right approach depends on why they have come away in the first place. A quick patch can hold for a while, but a proper repair protects the finish, the substrate underneath, and the long-term durability of the area.
Loose tiles are common in bathrooms, kitchens, entryways and commercial spaces where moisture, movement and wear all play a part. Sometimes the problem is isolated to one or two tiles. In other cases, loose tiles are an early warning sign that the bedding, grout or waterproofing system is starting to fail. Knowing the difference matters.
What causes tiles to come loose?
Tiles do not usually detach without a reason. In many homes, the issue begins with movement in the substrate underneath. Timber floors can flex, concrete can crack, and older surfaces may no longer provide a stable base for the adhesive to hold properly.
Moisture is another major factor. In showers, laundries and balconies, water can work its way through cracked grout joints or failed sealant lines. Once moisture reaches the adhesive bed or substrate, bonding strength can reduce over time. That is why a loose tile in a wet area should never be ignored.
Poor installation can also be the culprit. Inadequate adhesive coverage, incorrect adhesive selection, or laying over an unprepared surface often leads to hollow spots and bond failure. Heavy impacts and everyday wear can then finish the job.
In some cases, the tile itself is still in good condition and can be reset. In others, the tile has cracked, chipped, or lifted because the surrounding assembly is compromised. The repair needs to match the real cause, not just the visible symptom.
How to tell if it is a small repair or a bigger problem
Before you decide how to fix loose tiles, inspect the surrounding area carefully. One loose floor tile near a doorway may simply be a localised bond failure. A cluster of drummy tiles, cracked grout lines, or signs of moisture staining usually points to a wider issue.
Press gently around nearby tiles and listen for hollow sounds when tapped. Check whether grout joints are crumbling, whether silicone in corners has split, or whether there is movement underfoot. In showers, look for mould recurring along joints or water escaping where it should not.
If the tile is in a high-moisture area, or if multiple tiles are lifting, a cosmetic repair may not last. This is where professional assessment becomes valuable. A neat finish is only part of the job. What sits underneath has to be stable, dry and properly prepared.
How to fix loose tiles in a dry area
If the problem is limited to one or two tiles in a dry internal area and the tile is intact, repair can be straightforward. The tile needs to be removed carefully, the old adhesive cleared away, and the substrate checked before it is reset.
Start by removing the grout around the loose tile. This reduces the risk of damaging neighbouring tiles during removal. A grout saw or oscillating tool can help, but patience matters more than speed. Once the grout line is free, lift the tile carefully. If it comes away cleanly and the tile is undamaged, it may be reused.
Next, scrape off old adhesive from both the back of the tile and the substrate. This step is often rushed, and that is where repairs fail. The new adhesive needs a clean, sound surface to bond correctly. If the substrate is dusty, flaky or cracked, address that first.
Apply a suitable tile adhesive evenly and reset the tile so it sits flush with the surrounding surface. Alignment matters here. Even a slight lip can affect the look of the floor and create a weak point. Once the adhesive has cured, regrout the joints and clean the surface properly.
This kind of repair can work well where there is no moisture issue and no wider movement in the floor or wall. But if the tile comes loose again, the problem is deeper than adhesive alone.
How to fix loose tiles in bathrooms, showers and wet areas
Wet areas need more caution. The question is not only how to fix loose tiles, but whether the area underneath is still watertight. A tile repair that traps moisture or covers a failed waterproofing system can lead to more expensive damage later.
If a wall or floor tile is loose in a shower, avoid simply gluing it back in place. First, check the grout joints, silicone seals and adjacent tiles. If there are signs of water ingress, deteriorated grout or repeated mould growth, the repair should begin with the source of the moisture.
In some cases, isolated tiles can be removed and replaced as part of a targeted restoration. In others, the right solution is regrouting, resealing, or more extensive tile removal so the substrate can be inspected. That may sound like a bigger step, but it is often the only way to achieve a lasting result.
For property owners, this is where trade-offs come in. A fast repair may cost less upfront, but if water is already travelling behind the tiled surface, the short-term saving rarely holds. A cleaner, more durable finish comes from repairing the full system, not just the visible tile.
Common mistakes that shorten the life of a tile repair
Many loose tile repairs fail because the method is too superficial. Injecting adhesive under a tile without checking the substrate can work in some limited situations, but it is not a universal fix. If the base is unsound or damp, the bond will remain unreliable.
Using the wrong adhesive is another common problem. Different tile types and substrates require different products. Large format tiles, porcelain tiles and wet area surfaces all have their own requirements. The wrong product may hold briefly, then release under movement or moisture.
Poor surface preparation is equally risky. Dust, old adhesive residue and uneven bedding all affect adhesion. Then there is grout. If the joints are not properly finished after the tile is reset, water and dirt can work back into the repair and undermine it.
A repair should also match the surrounding finish. Misaligned tiles, uneven joints and mismatched grout stand out immediately. In spaces where presentation matters, craftsmanship is not optional. The repair needs to look intentional and perform like the original installation should have.
When it is better to replace than repair
Not every loose tile should be saved. If the tile is cracked, the edges are damaged, or the adhesive bed has failed across a wider area, replacement is usually the smarter option. The same applies where the substrate has movement that needs correction before new tiling goes down.
Older tiled areas often reveal more once repairs begin. Removing one loose tile can expose moisture damage, brittle bedding or poorly executed previous work. That does not always mean a full renovation is required, but it does mean the repair plan may need to change.
For landlords and commercial property managers, durability matters as much as appearance. Repeated patch repairs can become more disruptive and more expensive than doing the job properly once. If the area sees regular foot traffic or daily water exposure, long-term performance should lead the decision.
Why professional repair often delivers better value
A proper tile repair is part technical diagnosis, part finish work. The challenge is not simply sticking a tile back down. It is identifying what failed, correcting it cleanly, and restoring the tiled surface so it blends in and lasts.
That is where an experienced tiling and regrouting specialist brings real value. A polished repair protects the appearance of the room, but more importantly, it preserves hygiene, waterproof integrity and surface stability. In wet areas especially, getting the detail right can prevent much larger repair costs later.
At A1 Grouting & Tiling, that standard matters. Precision, clean workmanship and durable finishes are not extras. They are what make the repair worth doing.
If you have one loose tile or a section that feels unstable, treat it as an early warning rather than a minor annoyance. The best results come from repairing the cause, preserving the finish, and making sure the surface performs as well as it looks.