 10 years of water leakage warranty for Regrouting showers.

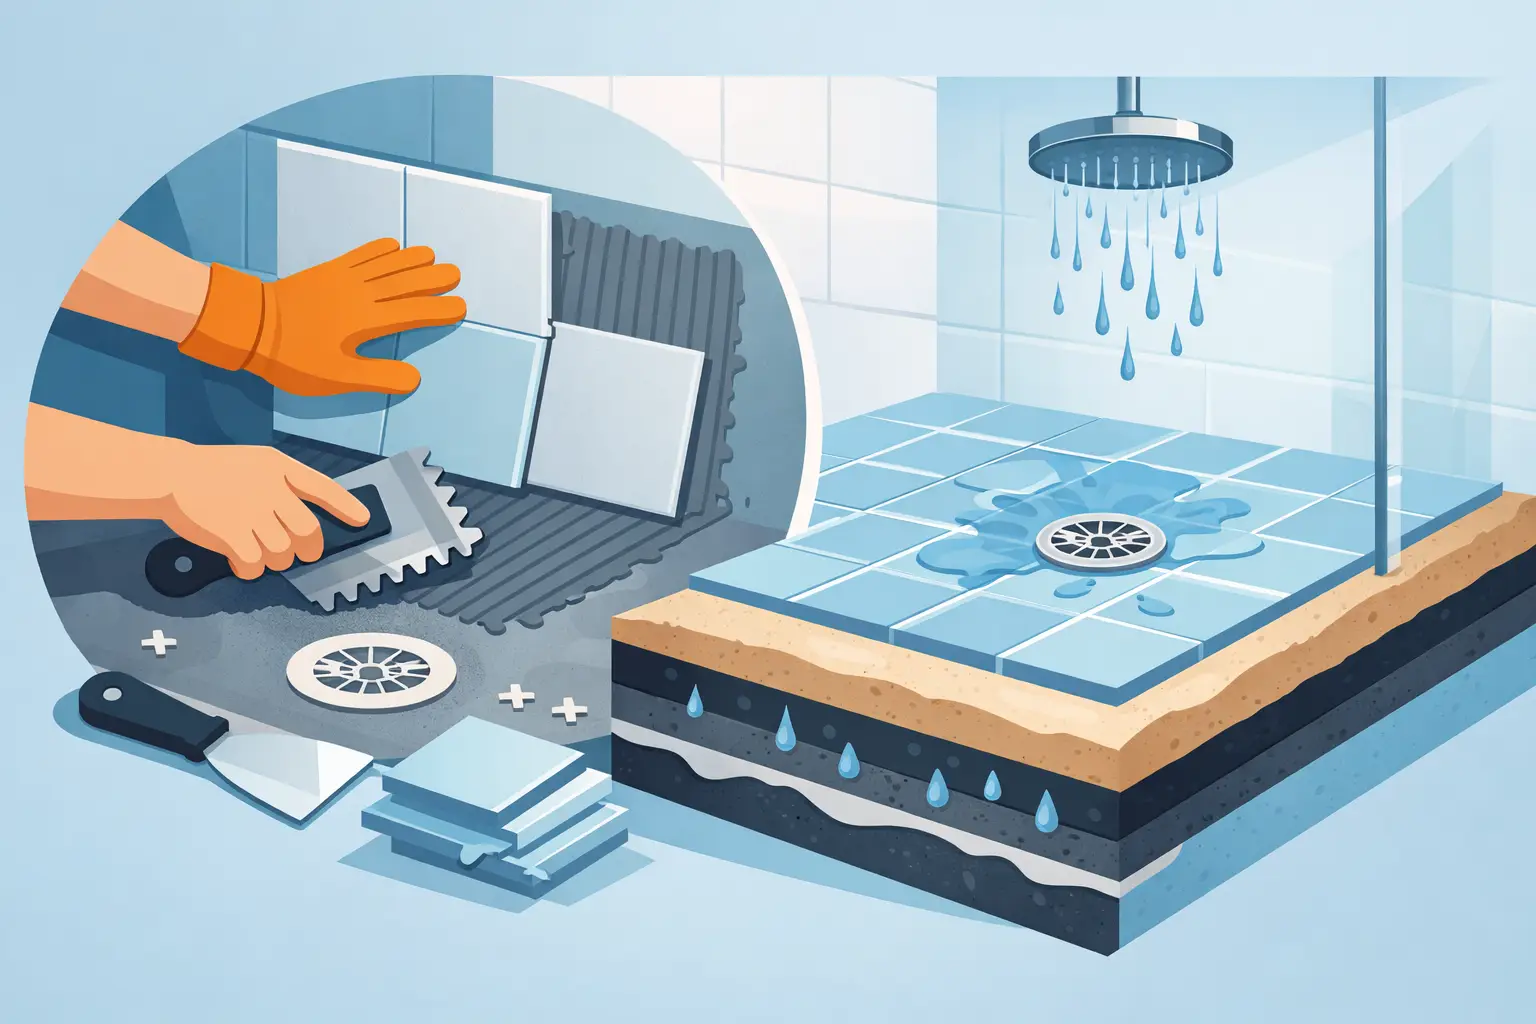
A shower floor can look tired long before the whole bathroom needs renovating. Stained grout, loose mosaics, sharp tile edges and a drain that never quite clears properly all make the space feel harder to clean and less inviting. Knowing how to retile a shower floor starts with one critical question: is the problem limited to the tiles, or has water already affected the waterproofing below?
That distinction determines whether this is a straightforward surface upgrade or a job that calls for a full shower-floor rebuild. A polished result is about more than choosing attractive tiles. The floor needs the correct fall to the drain, a sound waterproof membrane and carefully finished joints that stand up to daily use.
Decide whether you can retile over the existing base
Retiling a shower floor is not always as simple as removing the old tiles and fixing new ones in their place. In a well-built shower, tiles and grout form the visible finish, while the waterproofing system beneath them protects the structure. Grout is not waterproof, and neither are most tile adhesives.
If the existing tiles are firmly bonded, the shower drains correctly and there are no signs of moisture damage, it may be possible to remove tiles without disturbing the screed or waterproofing layer. However, this requires patience and the right tools. Aggressive removal can easily puncture a membrane, especially around the drain and wall-to-floor junctions.
Warning signs of a deeper issue include a persistently damp smell, loose tiles across a wide area, cracked grout that returns after repairs, water staining on adjoining walls or ceilings, and a shower floor that puddles. If any of these are present, removing the floor and inspecting the waterproofing is the more reliable path. Retiling over a failed substrate only hides the cause temporarily.
In many older bathrooms, a full rebuild is the better long-term investment. It allows the base to be corrected, the drainage fall to be restored and a compliant waterproofing system to be installed before the new finish goes down.
Plan the tile layout before lifting a single tile
Shower floors need tiles that suit the shape and movement of the surface. Small-format porcelain mosaics are a popular choice because their many grout joints help them follow the fall toward the drain. They also offer better slip resistance than large, smooth tiles.
Larger tiles can work in a shower, particularly with a linear drain, but they demand a very accurate base and more complex cutting. A tile that looks excellent on a showroom wall may not be practical on a compact shower floor. Check the tile’s suitability for wet areas and choose a finish that gives secure footing when wet.
Measure the floor, locate the drain centre or channel, and dry-lay a section of tile where possible. This reveals awkward cuts before adhesive is involved. Aim for balanced cuts at the perimeter rather than a narrow strip along one wall, and consider how the floor tile will meet the wall tiles. Clean alignment makes a small shower feel more considered and professionally finished.
Before starting, have the right materials ready:
- safety glasses, gloves, a dust mask and hearing protection
- a tile scraper or chisel, hammer and oscillating tool for controlled removal
- suitable tile adhesive, grout, primer and flexible sanitary silicone
- a notched trowel, rubber grout float, spirit level and tile spacers
- replacement drain components if the existing grate or flange is damaged
Remove the old shower floor carefully
Start by protecting nearby finishes, including the shower screen, vanity and exposed wall tiles. Remove the drain grate, then cut out the silicone at the floor-to-wall junction. This movement joint should never be filled with rigid grout.
Begin tile removal away from the drain and walls, where damage to waterproofing is most costly. Lift tiles in small sections rather than striking deeply into the floor. A scraper or oscillating tool can help separate adhesive with more control than a heavy chisel.
Once the tiles are out, remove old adhesive until the base is flat, clean and free of loose material. Do not use excessive force to chase every last trace of adhesive if it risks gouging the screed or membrane. The aim is a stable, even surface suitable for the new tile system.
This is the point where the project often changes scope. If you uncover cracked screed, soft areas, moisture beneath the bed or visible membrane damage, stop before laying new tiles. The affected area needs proper repair, not a cosmetic patch. A shower that leaks can damage framing, subfloors and rooms below long before the evidence becomes obvious.
Check the fall and waterproofing before retiling
Correct drainage is non-negotiable. Water should travel consistently to the drain, without sitting in corners or against the wall. As a general guide, shower floors require a fall of at least 1:80 to the drainage outlet, though the final design should suit the shower layout, tile format and applicable Australian requirements.
Use a straightedge and level to check the base from several directions. If it is flat or has low spots, correct it with an appropriate levelling or screeding product before tiling. Do not try to create the fall with variable thicknesses of adhesive. Adhesive is designed to bond tiles, not to compensate for major imperfections in the floor.
Waterproofing deserves the same care. A sound membrane should be continuous, properly bonded and integrated with the drain connection and wall junctions. If it has been cut, torn or is clearly deteriorated, replacement is the dependable solution. In Australian wet areas, waterproofing work should be carried out in line with the relevant requirements, and professional installation offers valuable assurance where the shower base has been opened up.
At A1 Grouting & Tiling, this attention to the unseen layers is treated as seriously as the final tile pattern. A flawless finish only performs properly when the foundation beneath it is sound.
How to retile a shower floor with a clean finish
Once the base is dry, correctly graded and ready for tiling, apply any required primer according to the product instructions. Mix the adhesive in small batches so it remains workable. Spread it with the correct notched trowel, holding the trowel at a consistent angle to create even adhesive ridges.
Work in manageable sections. Press each tile firmly into place, using a slight sliding motion to collapse the adhesive ridges and achieve strong coverage. On mosaic sheets, check that the individual tiles sit evenly and that the sheet joins do not create visible lines. A grout float can be useful for gently bedding sheets without pushing some tiles lower than others.
Keep the surface following the existing fall while you work. Check frequently around the drain, where even a small high spot can affect drainage or leave the grate sitting proud of the tile. Cut tiles cleanly around the drain opening and ensure the grate can be removed for future cleaning.
Allow the adhesive to cure for the full time specified by the manufacturer. Rushing this stage can shift tiles during grouting and weaken the bond. Bathroom renovations often run on tight timelines, but curing time is part of the installation, not downtime.
Grout and seal the movement joints correctly
Choose a grout suited to shower floors and the width of the tile joints. A quality grout improves the appearance of the floor and helps prevent dirt from collecting in joints, but it should not be treated as the waterproof barrier. Follow the mixing and cleaning instructions closely, especially with fast-setting or epoxy products.
Pack grout fully into the joints with a rubber float, then clean the tile faces in stages using a damp sponge. Avoid flooding the fresh grout with water, as this can weaken the colour and finish. Once it has cured, polish away any remaining haze with a clean, dry cloth.
Leave the floor-to-wall junction and any other changes of plane free of grout. These areas need flexible, mould-resistant sanitary silicone so they can accommodate minor building movement. Apply neat, continuous beads and allow them to cure before using the shower.
Finally, test the floor carefully. Run water across the entire shower base and watch how it moves toward the drain. Check for puddling, inspect the drain area and look below or around adjacent spaces if access is available. A clean, fast-draining floor is one of the clearest signs that the job has been done with precision.
A newly tiled shower floor should make the bathroom easier to maintain, safer underfoot and more enjoyable to use every day. If the old floor has revealed drainage, substrate or waterproofing concerns, choosing a specialist to rebuild it properly protects both the finish you can see and the home behind it.