 10 years of water leakage warranty for Regrouting showers.

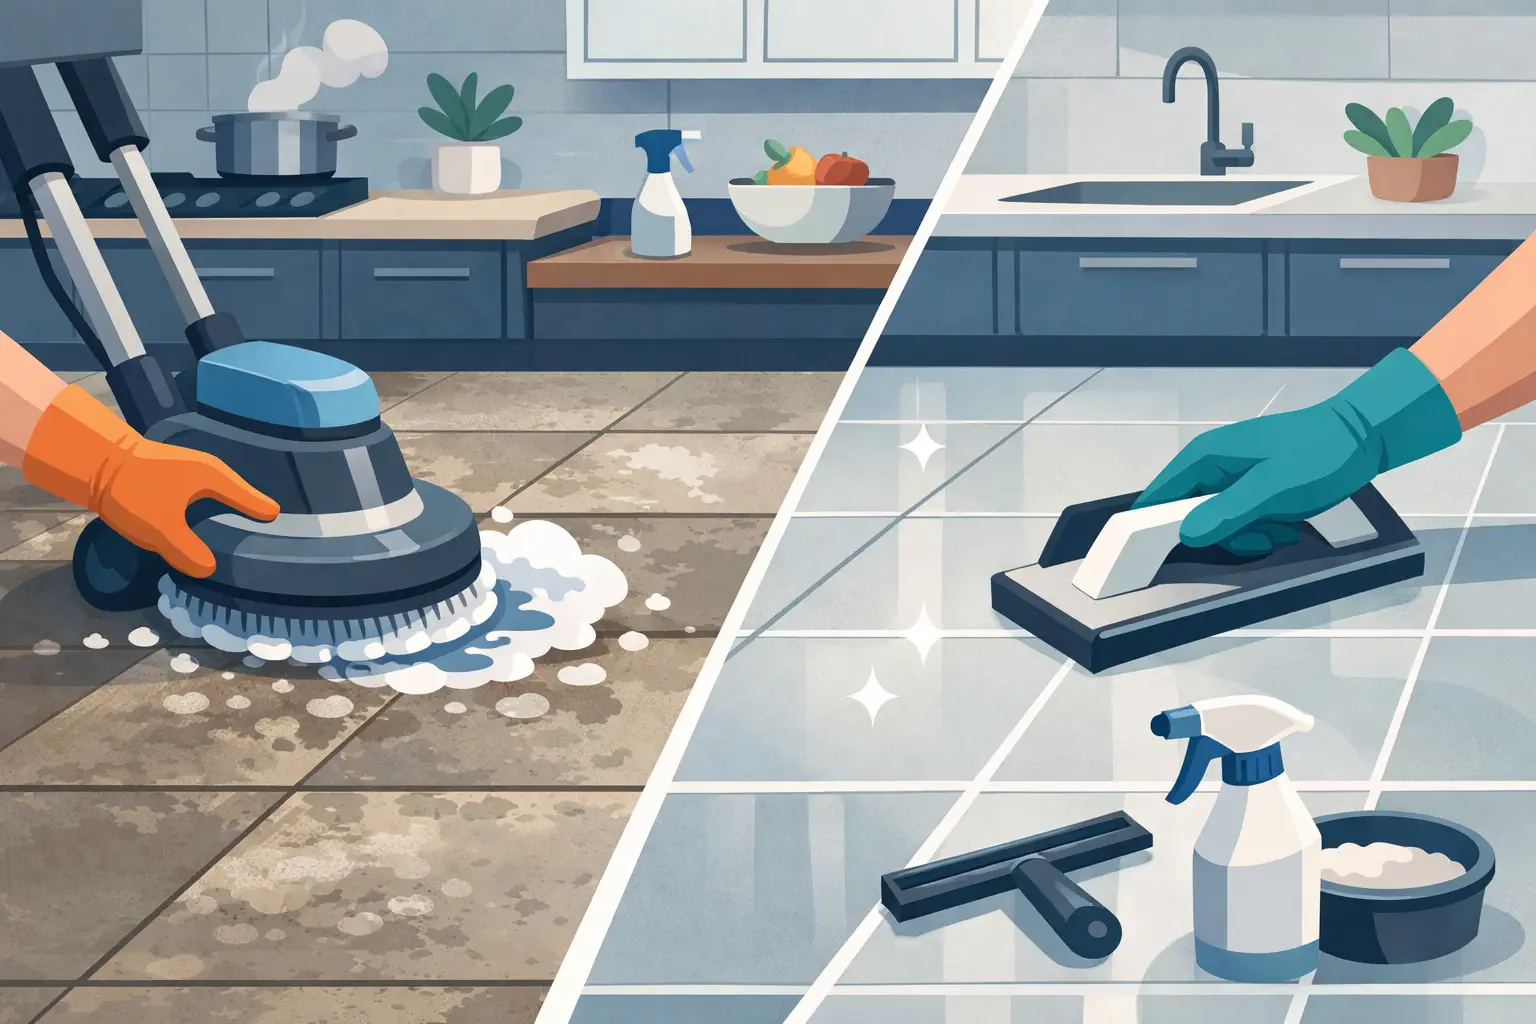
A kitchen floor rarely fails all at once. It starts with grout that stays dark after mopping, a tile that sounds hollow underfoot, a chip beside the island or fine cracks that collect grime. Professional kitchen floor tile restoration addresses these details before they become a bigger repair, bringing back the clean lines, strength and polished finish that make a kitchen feel cared for.
For homeowners, landlords and commercial property managers, restoration can be a practical alternative to removing an entire tiled floor. The right approach depends on what sits beneath the surface. Some floors need targeted tile replacement and fresh grout; others need deeper substrate repairs before a durable finish is possible. A careful assessment is what separates a cosmetic touch-up from work that performs for years.
What kitchen floor tile restoration can fix
Kitchen floors carry more than daily foot traffic. They deal with dropped cookware, chair legs, food spills, moisture around sinks and repeated cleaning. Over time, these pressures can leave even quality tiles looking worn.
Restoration may include replacing cracked, chipped or loose tiles, removing failed grout, repairing movement-related cracks, regrouting joints, cleaning embedded staining and applying suitable protection where needed. It can also involve correcting uneven tile edges or damaged silicone at perimeter joints, particularly where water and dirt can work their way into gaps.
The visible improvement is often dramatic, but appearance is only part of the result. Sound grout joints help support tile edges, reduce places for moisture and bacteria to collect, and make routine cleaning far easier. Repaired tiles remove trip points and stop damage spreading into adjoining areas.
Start with the cause, not the stain
A discoloured grout line may be a cleaning issue. It may also be a sign of grout that has become porous, cracked or loose. Likewise, one cracked tile could be the result of an impact, while several tiles cracking along the same line can point to movement in the substrate below.
This distinction matters. Regrouting over unstable tiles or filling a crack without addressing its cause can produce a neat result for a short period, then the same problem returns. Precision restoration begins by checking tile adhesion, joint condition, levels and the floor’s movement points.
Signs that call for a professional inspection
A few symptoms deserve closer attention: tiles that rock or sound hollow, grout that repeatedly crumbles, cracks running across multiple tiles, persistent staining around the sink or dishwasher, and raised tile edges that catch shoes or mop heads. In older kitchens, it is also worth checking whether previous repairs used mismatched grout, unsuitable fillers or rigid materials where flexible joints were required.
Not every defect means the entire floor needs replacement. A skilled tiler can often lift and replace isolated damaged tiles, match grout as closely as possible and restore affected sections with minimal disruption. Where the underlying floor has deteriorated or widespread tile adhesion has failed, replacement may represent better long-term value. The honest answer depends on the floor, not a one-size-fits-all solution.
The restoration process for a durable finish
Quality kitchen floor tile restoration is methodical. Rushing the preparation stage can compromise even the most attractive tile or grout selection.
1. Assess and prepare the work area
The floor is inspected to identify loose tiles, structural cracking, moisture concerns and failed joints. Appliances, kickboards and adjoining finishes are considered so the repair integrates cleanly with the kitchen. Floors are then protected and prepared to control dust, keep the work area tidy and avoid unnecessary damage to nearby surfaces.
2. Remove failed materials carefully
Damaged grout is removed to an appropriate depth rather than simply coating over the existing joint. Cracked or loose tiles are lifted with care to protect surrounding tiles, especially where replacements are limited or discontinued. Old adhesive, weak bedding material and unsuitable patching compounds must be removed before repairs can be built on a stable base.
3. Repair the substrate where required
This is the stage that determines whether the finished floor remains stable. Small localised voids may need levelling or patching. More significant movement or moisture issues require a tailored repair strategy before new tiles are installed. If this work is skipped, new grout and replacement tiles can crack under the same pressure that caused the original damage.
4. Replace tiles with accurate alignment
Replacement tiles should sit flush with surrounding surfaces, with consistent joint widths and clean cuts around cabinetry, thresholds and fixtures. Tile matching is not always exact, particularly with older products, but an experienced tiler can position replacement tiles thoughtfully and use grout colour to create a cohesive finish.
5. Regrout, detail and cure correctly
Fresh grout is worked fully into clean joints, then finished evenly so the floor looks refined rather than patched. Flexible sealant is used at appropriate transitions and perimeter areas to accommodate minor movement. Finally, the floor needs adequate curing time before heavy traffic, washing or moving appliances back into place. This is not a stage to rush.
Choosing grout and finishes that suit a kitchen
Grout colour has a major effect on the finished look. A close colour match can create a calm, continuous surface, while a contrasting shade can highlight a patterned layout or feature tile. In busy family kitchens and commercial spaces, mid-tone grout often hides day-to-day marks better than very pale shades, without making the room feel heavy.
Performance matters as much as colour. Kitchens benefit from grout selected for the tile type, joint width and expected cleaning routine. Dense porcelain tiles, natural stone, ceramic tiles and older terracotta-style floors each have different requirements. Natural stone may need specialised cleaning and sealing, while some modern porcelain floors need little more than correct grout maintenance.
Sealers can be useful in the right application, but they are not a cure for failing grout or poor drainage. A quality sealer can help resist staining and make cleaning easier when applied to a sound, fully cured surface. It should be selected to suit the material and maintained according to the product requirements.
Why DIY patching often falls short
A small grout repair may look straightforward, but colour inconsistency, poor joint preparation and the wrong product are common problems. Premixed fillers can be tempting for speed, yet they may not provide the strength or finish required for a high-traffic kitchen floor. Household cleaners can also cause damage, particularly acidic products used on natural stone or harsh abrasives used on glazed tiles.
Tile replacement is more technical again. Removing one tile without cracking adjacent pieces takes control, and setting the new tile at the correct height requires a stable adhesive bed and careful alignment. When tiles are no longer available, the challenge becomes as much about design judgement as repair technique.
Professional restoration reduces these risks. A1 Grouting & Tiling approaches each floor with attention to preparation, clean workmanship and the small finishing details that make a repair blend into the wider space.
Protecting a restored kitchen floor
Once repairs are complete, a simple maintenance routine helps preserve the result. Sweep or vacuum grit regularly, as fine debris acts like sandpaper under shoes and chair legs. Clean spills promptly, especially oils, sauces and acidic foods. Use a pH-neutral cleaner suited to tiled floors, rather than bleach-heavy or acidic products that can dull surfaces and weaken grout over time.
Felt pads beneath chairs, mats near external doors and a protective mat in front of the sink can reduce wear in the busiest zones. Avoid dragging appliances or heavy furniture across tiles. If grout begins to crack, stain unusually or pull away from an edge, arrange an inspection early. Small repairs are generally cleaner, faster and more cost-effective than waiting for moisture and movement to affect a wider section of floor.
A restored kitchen floor should do more than look fresh on completion day. With sound repairs, considered materials and regular care, it can remain a clean, durable foundation for the way your kitchen is used every day.