 10 years of water leakage warranty for Regrouting showers.

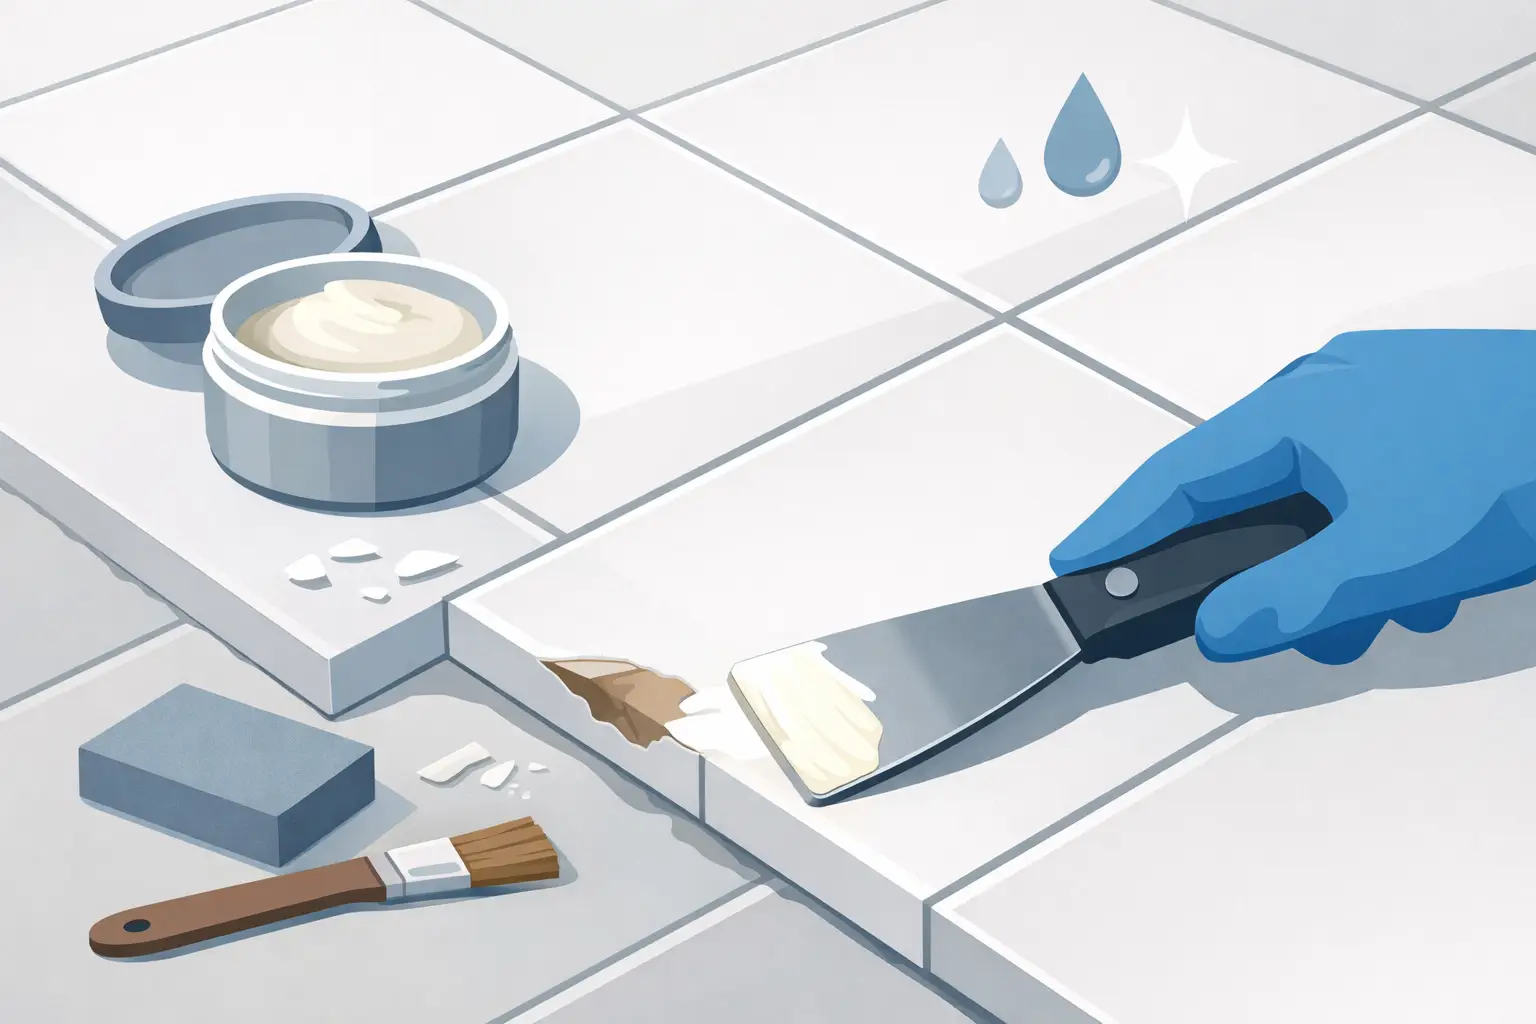
A chip in an otherwise flawless tiled surface has a way of drawing the eye. It can make a carefully finished bathroom, kitchen splashback or entry floor look neglected, even when the rest of the room is spotless. The good news is that it is often possible to repair chipped ceramic tiles without pulling up the entire area – provided the damage is assessed properly and the repair is completed with care.
A successful repair is not simply about covering the exposed spot. The finish needs to match the tile’s colour and sheen, bond securely, resist moisture and sit flush with the surrounding surface. For small, isolated chips, a precise repair can restore the appearance and protect the tile from further deterioration. For larger damage, cracked tiles or chips in wet areas, replacement may offer the cleaner and longer-lasting result.
First, assess the chip and its location
Not every chipped tile needs the same solution. A shallow chip on a wall tile, well away from water, is generally a good candidate for a colour-matched repair. A deeper chip on a busy floor, however, is exposed to foot traffic, grit and cleaning products. It needs a harder-wearing finish, and even then may remain more noticeable over time.
The location matters just as much as the size. Chips on shower walls, shower floors, bathroom splash zones and balconies deserve closer attention. If the tile body is exposed, water can enter through the damaged glaze. Ceramic tiles are less porous than many natural materials, but the exposed core and surrounding grout joints can still hold moisture. In a shower, that can contribute to staining, mould growth or moisture problems behind the tiled surface if other defects are present.
Look closely for cracks spreading from the chip, loose grout, hollow-sounding tiles or movement underfoot. These signs point to an underlying installation issue rather than a cosmetic blemish. Filling the chip alone may temporarily improve the look, but it will not correct a tile that is poorly bonded or a substrate that is moving.
When a repair kit is the right option
For a small chip with sound tile around it, a ceramic tile repair kit can be an effective solution. Most quality kits use a two-part epoxy, filler or resin that is mixed, tinted and shaped into the damaged area. The aim is to rebuild the missing section, then blend it into the existing glazed face.
A repair works best where the chip is no larger than a small coin, the tile is firmly fixed and the original finish is a relatively simple colour. Plain white, cream, grey and black tiles are usually easier to blend than heavily patterned, marbled or textured tiles. Gloss tiles also present a challenge because light reflects across the surface, making any unevenness more visible.
It is worth setting realistic expectations. A well-executed repair can be difficult to notice from normal standing distance, but it may not be invisible at close range. On a feature wall, high-end bathroom finish or highly polished floor, replacing the individual tile may be the better choice if a spare is available.
How to repair chipped ceramic tiles with precision
The quality of the preparation largely determines the quality of the finished repair. Rushing the cleaning, colour matching or curing stage is where most DIY patch jobs fall short.
Clean and dry the damaged area
Start by removing soap residue, grease, mineral deposits and loose fragments from the chip. A mild tile cleaner and a soft cloth are usually enough for general dirt. Avoid aggressive abrasives that can scratch the surrounding glaze and create a dull patch larger than the original damage.
Allow the tile to dry completely before applying any filler. This is particularly important in bathrooms and kitchens, where moisture trapped in the chip can weaken adhesion. If the chip is in a shower, avoid using that area until the tile and grout are fully dry.
Remove loose edges without enlarging the problem
Use a small craft blade or fine abrasive paper carefully to remove any unstable flakes at the edge of the chip. The goal is not to grind away healthy glaze. It is to create a clean, stable edge that the repair material can bond to.
Vacuum or wipe away all dust afterwards. Any debris left inside the damaged area can prevent the epoxy or filler from sitting firmly against the tile body.
Match the colour before you mix a full batch
Colour matching is the detail that separates an acceptable repair from one that continually catches the eye. If the kit includes tinting pigments, mix a tiny test amount first. Compare it to the tile in natural daylight as well as under the room’s artificial lighting, since a shade that looks right in one light can look too warm, cool or dark in another.
Remember that the tile face may have changed slightly with age, cleaning products or sun exposure. Match the visible surface now, not the colour you expect the tile to have been when it was installed.
Fill in thin, controlled layers
Mix the repair material according to its instructions, keeping the quantity small so it does not begin curing before you are ready. Press it firmly into the chip with a fine applicator, toothpick or small spatula. Work from the deepest part outwards to avoid leaving air pockets.
Build the repair gradually rather than applying one oversized blob. Leave the final layer just proud of the tile face if the product allows, as most fillers can be carefully levelled once partially cured. Keep the material clear of adjacent grout joints, particularly in showers, where the grout and sealant system needs to remain clean and intact.
Level, refine and allow full curing time
Once the filler reaches the recommended stage of curing, gently level it with a fine blade or very fine wet-and-dry paper. Take your time. Removing too much material can create a hollow that reflects light differently and makes the patch more obvious.
Some repair systems include a clear finishing coat to replicate the tile’s gloss. Apply it sparingly and only if it suits the existing sheen. A glossy coating on a matte tile, or a dull patch on a polished tile, can undermine an otherwise accurate colour match.
Most importantly, respect the full curing time. Do not wash, scrub or wet the area early. In a shower, wait for the manufacturer’s full moisture-exposure period before returning the surface to service.
Common repair mistakes that shorten the result
The most common mistake is treating a chipped tile as a quick cosmetic task. Filling over dirt, moisture or crumbling edges may look satisfactory for a few days, then the patch can lift, discolour or crack away.
Another issue is using household caulk, grout or ordinary paint as a tile filler. Grout is designed for joints, not to rebuild a glazed tile face. Caulk remains flexible and attracts dirt, while paint rarely provides the hardness or water resistance needed for tiled areas. Purpose-made ceramic repair products are a better option for small chips.
It is also easy to overlook the cause of the damage. A chip caused by a dropped object may be isolated. Repeated chips near a doorway, however, could indicate a poorly protected threshold or heavy impact from furniture and equipment. Cracks and chips across several tiles may suggest movement in the floor or wall beneath. Those situations call for a broader inspection before repairs begin.
When tile replacement is the smarter investment
Replacing a single ceramic tile is often preferable where the chip is deep, sits on an edge, crosses into a crack or affects a high-traffic floor. It is also the stronger option where waterproofing, loose tiles or deteriorated grout are part of the picture.
The challenge is removing the damaged tile without cracking its neighbours or disturbing the waterproofed substrate behind it. A professional can cut out the grout joint, break the tile inward in controlled sections, prepare the bed and install a matching replacement with accurate alignment. The new grout is then colour-matched and finished to suit the surrounding area.
If spare tiles are unavailable, a specialist may be able to source a close match, use a tile from an inconspicuous location or recommend a considered design solution. In some cases, replacing a small section or introducing a border feature delivers a more polished result than forcing a near-match into a prominent area.
For shower surfaces, do not assume a chipped tile is the only concern. Cracked grout, failed silicone, loose tiles and mould-stained joints can all affect the cleanliness and performance of the space. A1 Grouting & Tiling assesses the tiled system as a whole, so repairs support both the visual finish and the durability expected in a wet area.
Protect the repaired surface afterwards
Once the repair has cured, clean the area with pH-neutral tile products and a soft cloth or non-scratch pad. Harsh acids, abrasive powders and stiff scourers can dull the glazed surface and wear a repaired patch prematurely. On tiled floors, use door mats to reduce grit and attend to dropped objects or moving furniture promptly.
A small chip does not have to become a lasting distraction. With careful assessment, precise colour matching and the right repair method, the surface can return to looking clean, considered and well maintained. When the damage is more than skin-deep, choosing a professional replacement protects the finish you have invested in and keeps the tiled area performing as it should.