 10 years of water leakage warranty for Regrouting showers.


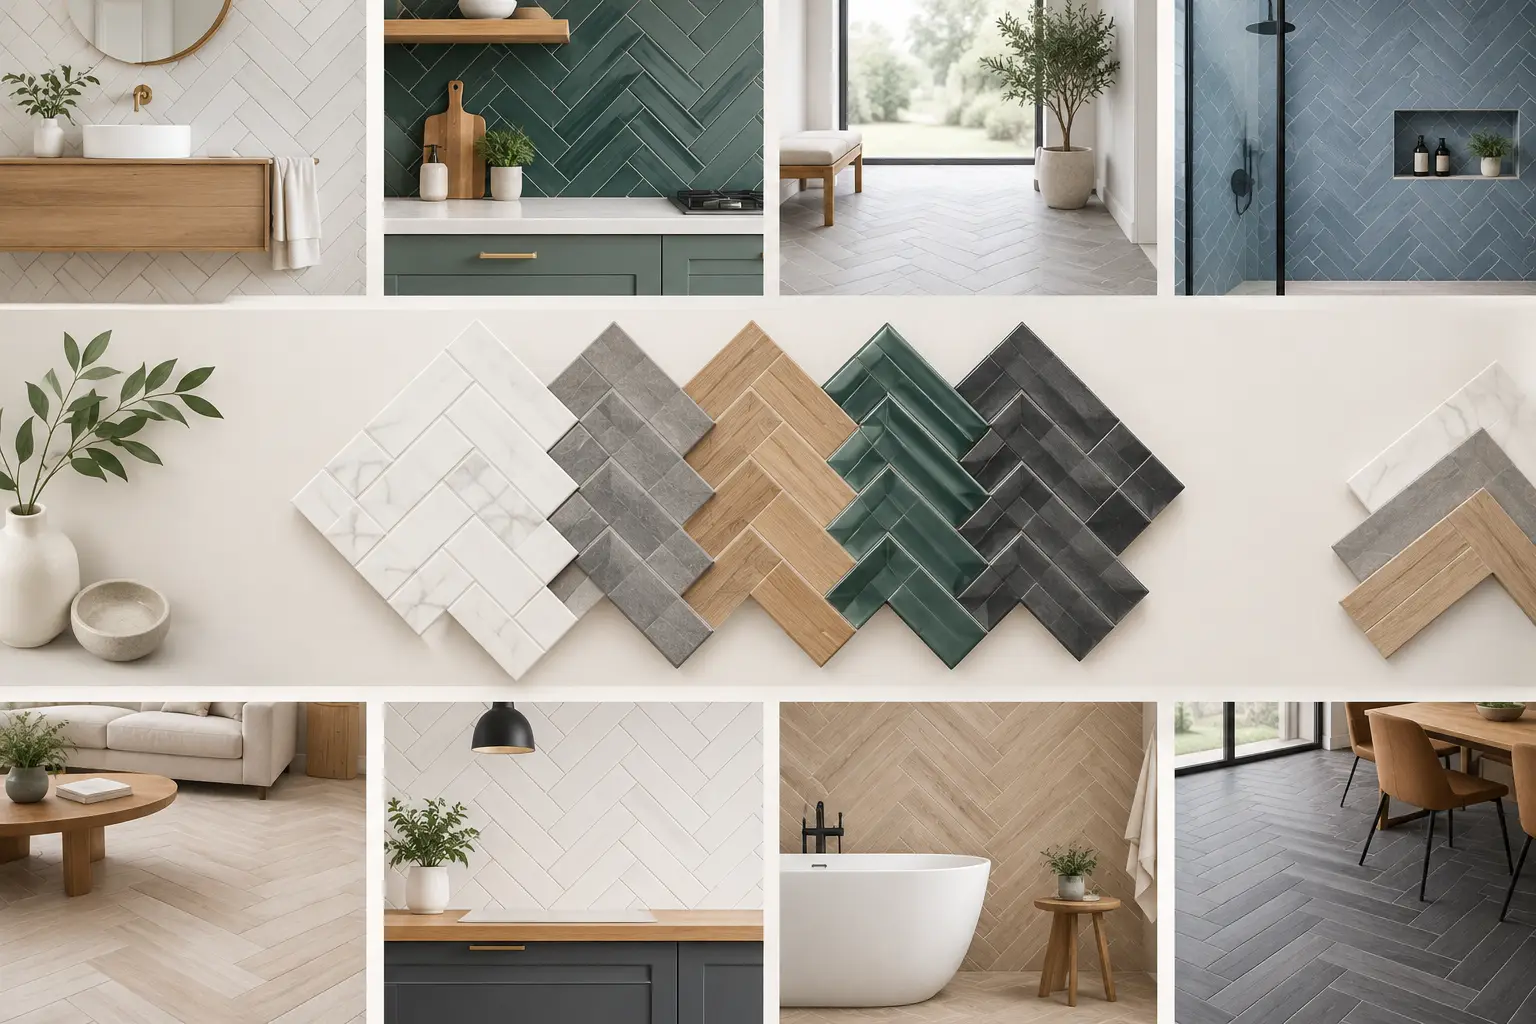
A herringbone pattern can make an ordinary tiled surface feel deliberately designed. The interlocking arrangement brings movement, depth and a tailored finish to bathrooms, kitchens, entryways and commercial interiors. The best herringbone tile layout ideas do more than follow a trend: they suit the room’s proportions, work with the tile material, and are installed with the precision needed to keep every line crisp.
Unlike a straightforward stacked layout, herringbone exposes small inconsistencies quickly. A tile that is slightly out of square, a wall that is not perfectly true, or a rushed set-out can interrupt the pattern across the entire surface. That is why planning matters just as much as selecting a beautiful tile.
Why herringbone needs a considered layout
Herringbone is created by placing rectangular tiles at 90-degree angles in a repeating V-shaped formation. It has historic appeal, but it can look equally at home in a calm coastal bathroom, a contemporary kitchen or a polished commercial foyer. The direction of the pattern changes how a space is perceived.
Run the points lengthways through a narrow room and the floor can appear longer. Direct them towards a feature wall, vanity or doorway and the eye is naturally drawn to that focal point. On a splashback, herringbone creates texture without requiring bold colours or decorative tiles.
The trade-off is complexity. More cuts are required around perimeters, penetrations and fixtures, and the room needs to be measured carefully before installation begins. A balanced layout avoids tiny, awkward tile slivers at visible edges and makes the finished work look intentional rather than improvised.
Herringbone tile layout ideas for every space
1. Full-floor herringbone in a bathroom
A full bathroom floor in herringbone gives even a compact room a premium, finished feel. Smaller tiles are often the most practical choice here because they follow floor variations more comfortably and provide more grout lines for slip resistance. A matte porcelain tile in soft grey, warm stone or sand tones keeps the effect refined rather than busy.
For the strongest result, centre the pattern on the room’s main sightline, usually the doorway or vanity. In an irregular bathroom, the visual centre matters more than simply starting from one wall. This helps prevent uneven perimeter cuts from becoming the first thing you notice.
2. A shower feature wall with a vertical direction
Herringbone on a shower wall turns a practical wet area into a focal point. A vertical orientation draws the eye upwards, making lower ceilings feel more generous and framing the shower beautifully behind clear glass. Gloss tiles can reflect light in a darker bathroom, while satin or handmade-look finishes add softness and character.
Keep the surrounding walls simpler if the herringbone tile has strong variation, veining or texture. This creates contrast without overwhelming the room. Quality waterproofing, precise falls and well-finished grout joints are essential in a shower, where appearance and long-term water protection must work together.
3. A kitchen splashback with a restrained palette
Herringbone is particularly effective on kitchen splashbacks because it provides detail in a relatively contained area. White or off-white subway tiles with a light grout create a classic look, while olive, navy or charcoal tiles can bring a more dramatic architectural edge.
Grout colour changes the result significantly. Matching grout lets the pattern read as subtle texture, whereas contrasting grout outlines every tile and makes the geometry the feature. For a busy benchtop or strongly veined stone, a tonal grout is usually the more balanced decision.
4. Large-format herringbone for open-plan floors
Longer plank-style porcelain tiles can create an elegant herringbone floor through kitchens, dining areas and hallways. This is a strong option for homeowners who want the warmth of timber styling with the durability, water resistance and easier maintenance of porcelain.
Large-format herringbone needs a very flat substrate. Even minor floor unevenness can cause lipping, where one tile edge sits higher than the next. It also requires careful checking of tile dimensions. Many timber-look tiles have intentional size variation, so an experienced tiler will assess the batch and set suitable joint widths before work begins.
5. A framed herringbone rug effect
Rather than tiling the entire floor in herringbone, create a defined central panel bordered by a contrasting tile or stone-look frame. This works especially well in an entry, laundry, ensuite or commercial reception area where you want a design feature without carrying a detailed pattern over every square metre.
The border gives the layout a clean stopping point and can make challenging room shapes easier to resolve. It also provides a useful transition between a statement area and a more straightforward tiled floor.
6. Diagonal herringbone in narrow hallways
A diagonal set-out can soften the straight, tunnel-like feel of a long hallway. The pattern creates movement across the width of the space and provides a more decorative alternative to running tiles directly along its length.
This approach does produce more cuts along both sides, so allow for extra material and installation time. It is often worth the investment in high-visibility areas, particularly when paired with hard-wearing porcelain and a grout colour that will retain a clean appearance under regular foot traffic.
7. Herringbone behind a vanity or freestanding bath
A smaller feature area can have a substantial design impact. Installing herringbone behind a vanity, bath or mirror creates a focal point while leaving the rest of the bathroom calm and easy to maintain. This is a practical option for renovators who want a custom finish without committing to a full feature wall.
Consider where fittings will land before the layout is finalised. Ideally, mixers, outlets and accessories should sit neatly within the pattern rather than cutting through its most visible points. This detail is small, but it separates a polished installation from an average one.
8. Two-tone herringbone with controlled contrast
Combining two colours in one herringbone layout can create a striking result, but restraint is key. Alternating warm white and soft grey, or pale timber and medium oak tones, gives the pattern depth without making it visually chaotic. A very high-contrast combination suits bold commercial spaces or contemporary interiors, but may feel dominant in a small bathroom.
Before committing, view samples together in the actual room. Natural light, artificial lighting and nearby finishes can alter the perceived colour considerably. The right combination should complement cabinetry, benchtops and paint rather than compete with them.
9. Herringbone with a straight-set border
A straight-set border around a herringbone floor is a classic technical solution with lasting visual appeal. It defines the edge of the pattern and reduces the number of angled cuts at walls. In rooms with out-of-square walls, it can also disguise minor building irregularities far more effectively than running the herringbone directly into every perimeter.
The border may match the main tile or use a darker tone for definition. Either way, it needs careful set-out so its width remains visually consistent around the room.
10. Outdoor-look herringbone for covered areas
For covered balconies, alfresco zones or building entrances, herringbone can bring a more considered finish to durable outdoor-rated porcelain. Choose a tile with suitable slip resistance and a finish designed for the conditions. Not every indoor tile is appropriate outside, even when it looks ideal.
Drainage, movement joints and substrate preparation are as important as the pattern itself. Outdoor installations need room to accommodate temperature changes and exposure, particularly in areas that receive strong sun or wind-driven rain.
Tile size, grout and finish make the pattern work
The most successful herringbone tile layout ideas start with realistic decisions about scale. Small tiles suit compact bathrooms, curved details and showers, while longer planks make more impact over broad floor areas. As a general rule, a large pattern needs enough uninterrupted space to be read properly. In a very small room, oversized planks may create too many cuts and lose their intended effect.
Grout deserves equal attention. A light grout can make a small room feel more open, but it may need more regular cleaning in high-use areas. Darker grout is more forgiving on floors and adds definition, although it can make a pale tile pattern look busier. Premium grout products and correct sealing where required support a cleaner, more durable finish over time.
Tile edges also influence the final appearance. Rectified tiles with precise machine-cut edges allow tighter, more contemporary joints, provided the substrate is properly prepared. Handmade-look tiles have variation that adds charm, but they generally need wider joints and a layout that embraces their character.
Precision is the difference you can see
Herringbone rewards skilled workmanship. Professional installation begins with checking the surface, confirming the tile dimensions and establishing the best centreline or focal point. The pattern is then dry-laid or carefully mapped before adhesive is applied, allowing adjustments before any permanent work begins.
In wet areas, the technical work behind the tiles matters most. Sound waterproofing, correct substrate preparation, suitable adhesive and clean grout application protect the surface from moisture issues while preserving the finish. For homeowners, landlords and property managers, this means fewer corrective repairs and a tiled area that continues to look cared for.
At A1 Grouting & Tiling, herringbone installations are approached as both a design feature and a long-term surface solution. Precision alignment, clean edges and durable grout work are not extras. They are the foundation of a finish that stays impressive well after handover.
Choose a herringbone design that suits how the room is used, not just how it photographs. With the right tile, thoughtful set-out and expert installation, the pattern can bring lasting character to the spaces you use every day.